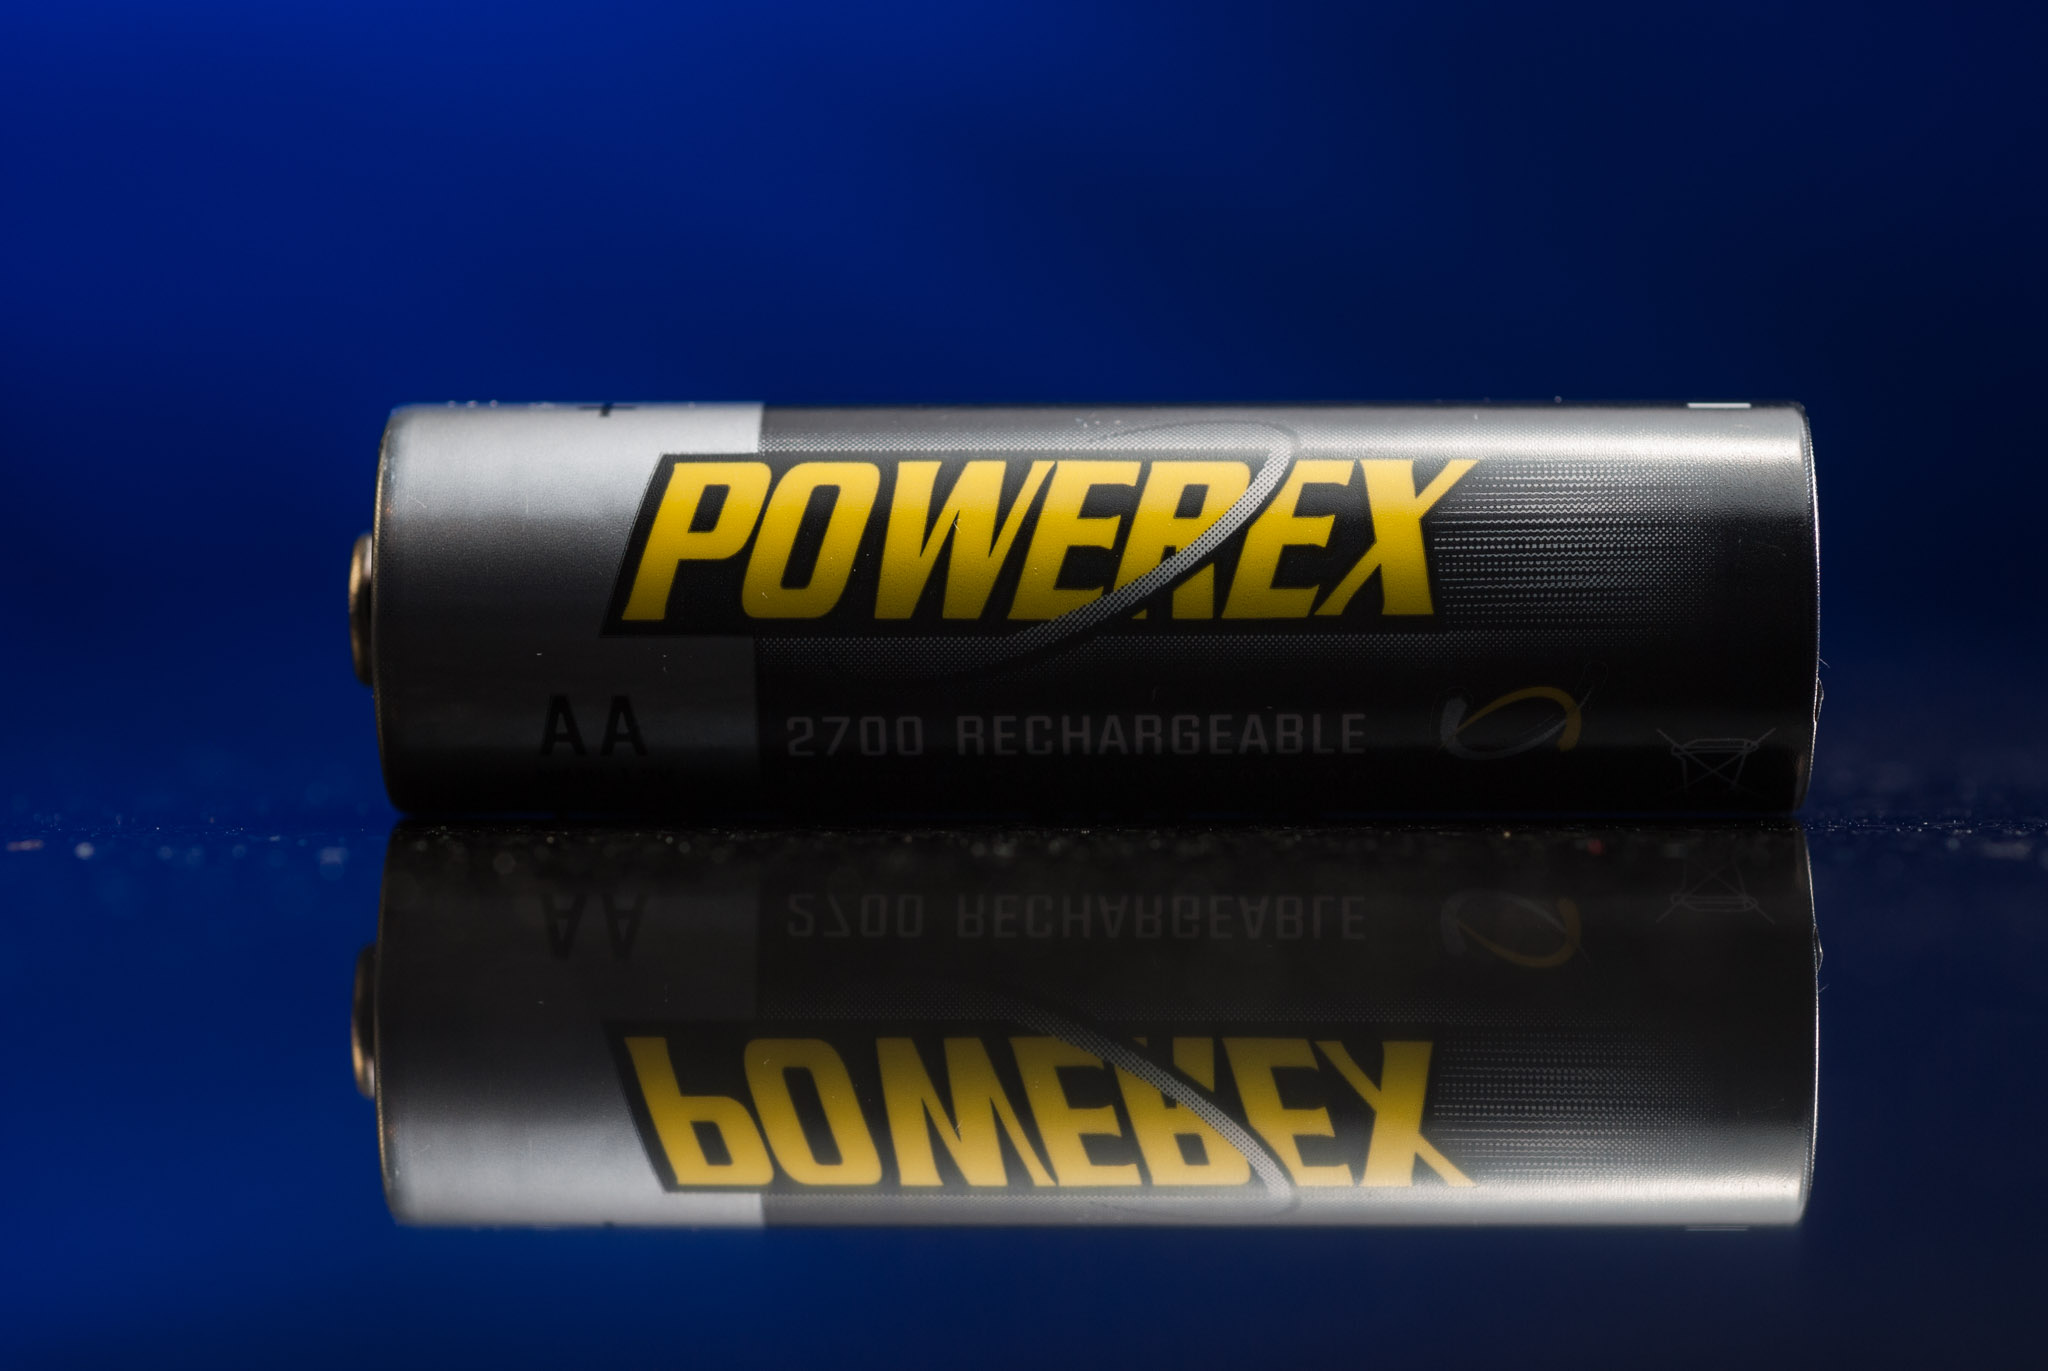
Nikon D200, Nikon 60mm f/2.8 Micro, ISO 100, f/8, 1/250 sec.
Nothing screams glamor like a photo of a rechargeable battery, eh?
Even though my focus is on portraiture and architecture, I am fascinated by virtually every type of photography. I study all sorts of things and love to try to experiment in my free time. Product photography is one of those fields where I like experimenting because it's challenging.
Think about it: you have this inanimate object that just sits there and you have to make it interesting. Appealing. Glamorous even.
The story behind this particular photo is kind of backwards. It didn't start with me wanting to make a photo of a battery; rather, it started with Michael's. Yes, the craft store. I was out with my kids trying to kill time on a rainy day (if you have young children, you know what I mean). Anyway, we were at Michael's to buy something (I can't remember what) and I started noticing all of these items that would make great product photography gadgets. Things to fire lights through, things to make reflectors, things to hold other things in place. Amazing. I went a little nuts and walked out of there with $40 of random crap.
Naturally, I wanted a subject to experiment on. Some of my batteries happened to be charging in my office, and I thought, hey, batteries. By the way, I use a lot of these suckers. I shoot primarily with small flash (speedlights) and it's imperative to use rechargeable batteries with those things.
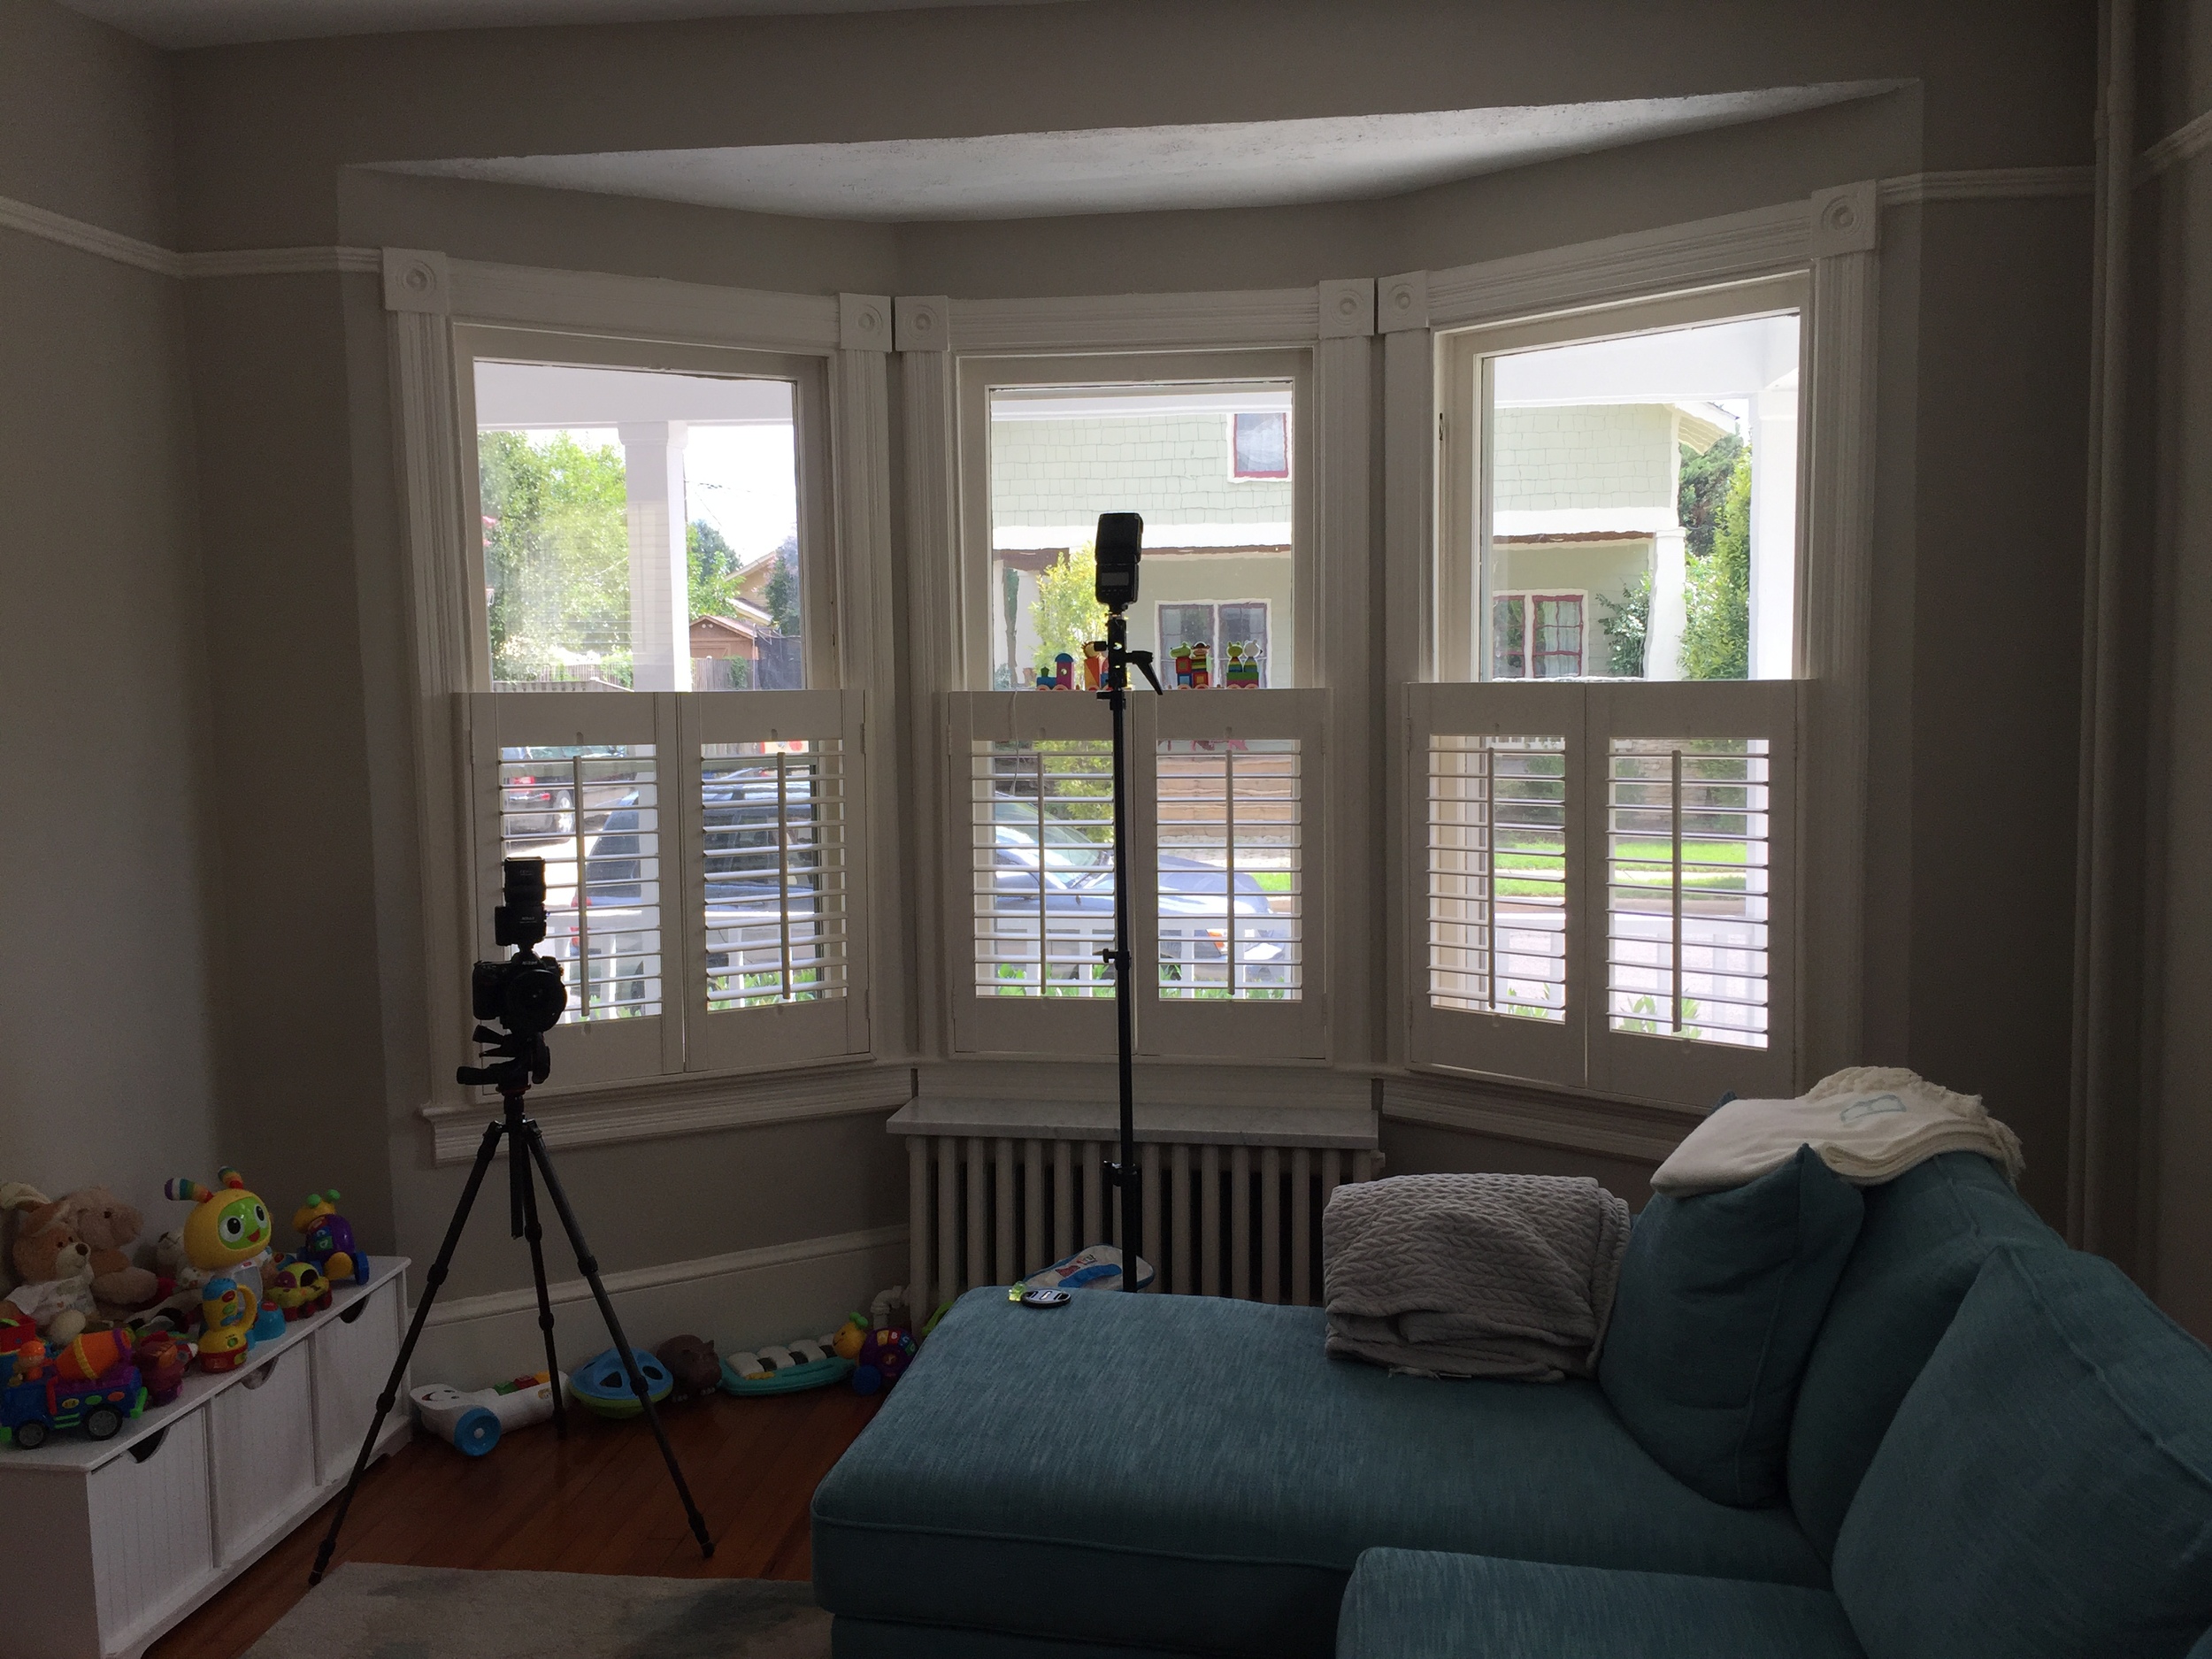
Check out the setup shot below and then let's talk about some of the elements. It's essentially the same setup shot as the one for the photo at the top of this post even though the battery is in a different orientation in the setup shot. I think the only difference is that I moved my main light (the small softbox) down closer to the battery when I laid it down.

Behind the scenes!
First, the background. See that light blue panel hanging from a wire? That's a stencil. Fire a dark blue-gelled flash through it and you get the background you see in the final photo. The stencil gives the background some subtle shading and variance that you wouldn't get if you fired the flash right at the background. You could do that too, but it wouldn't be quite as interesting.
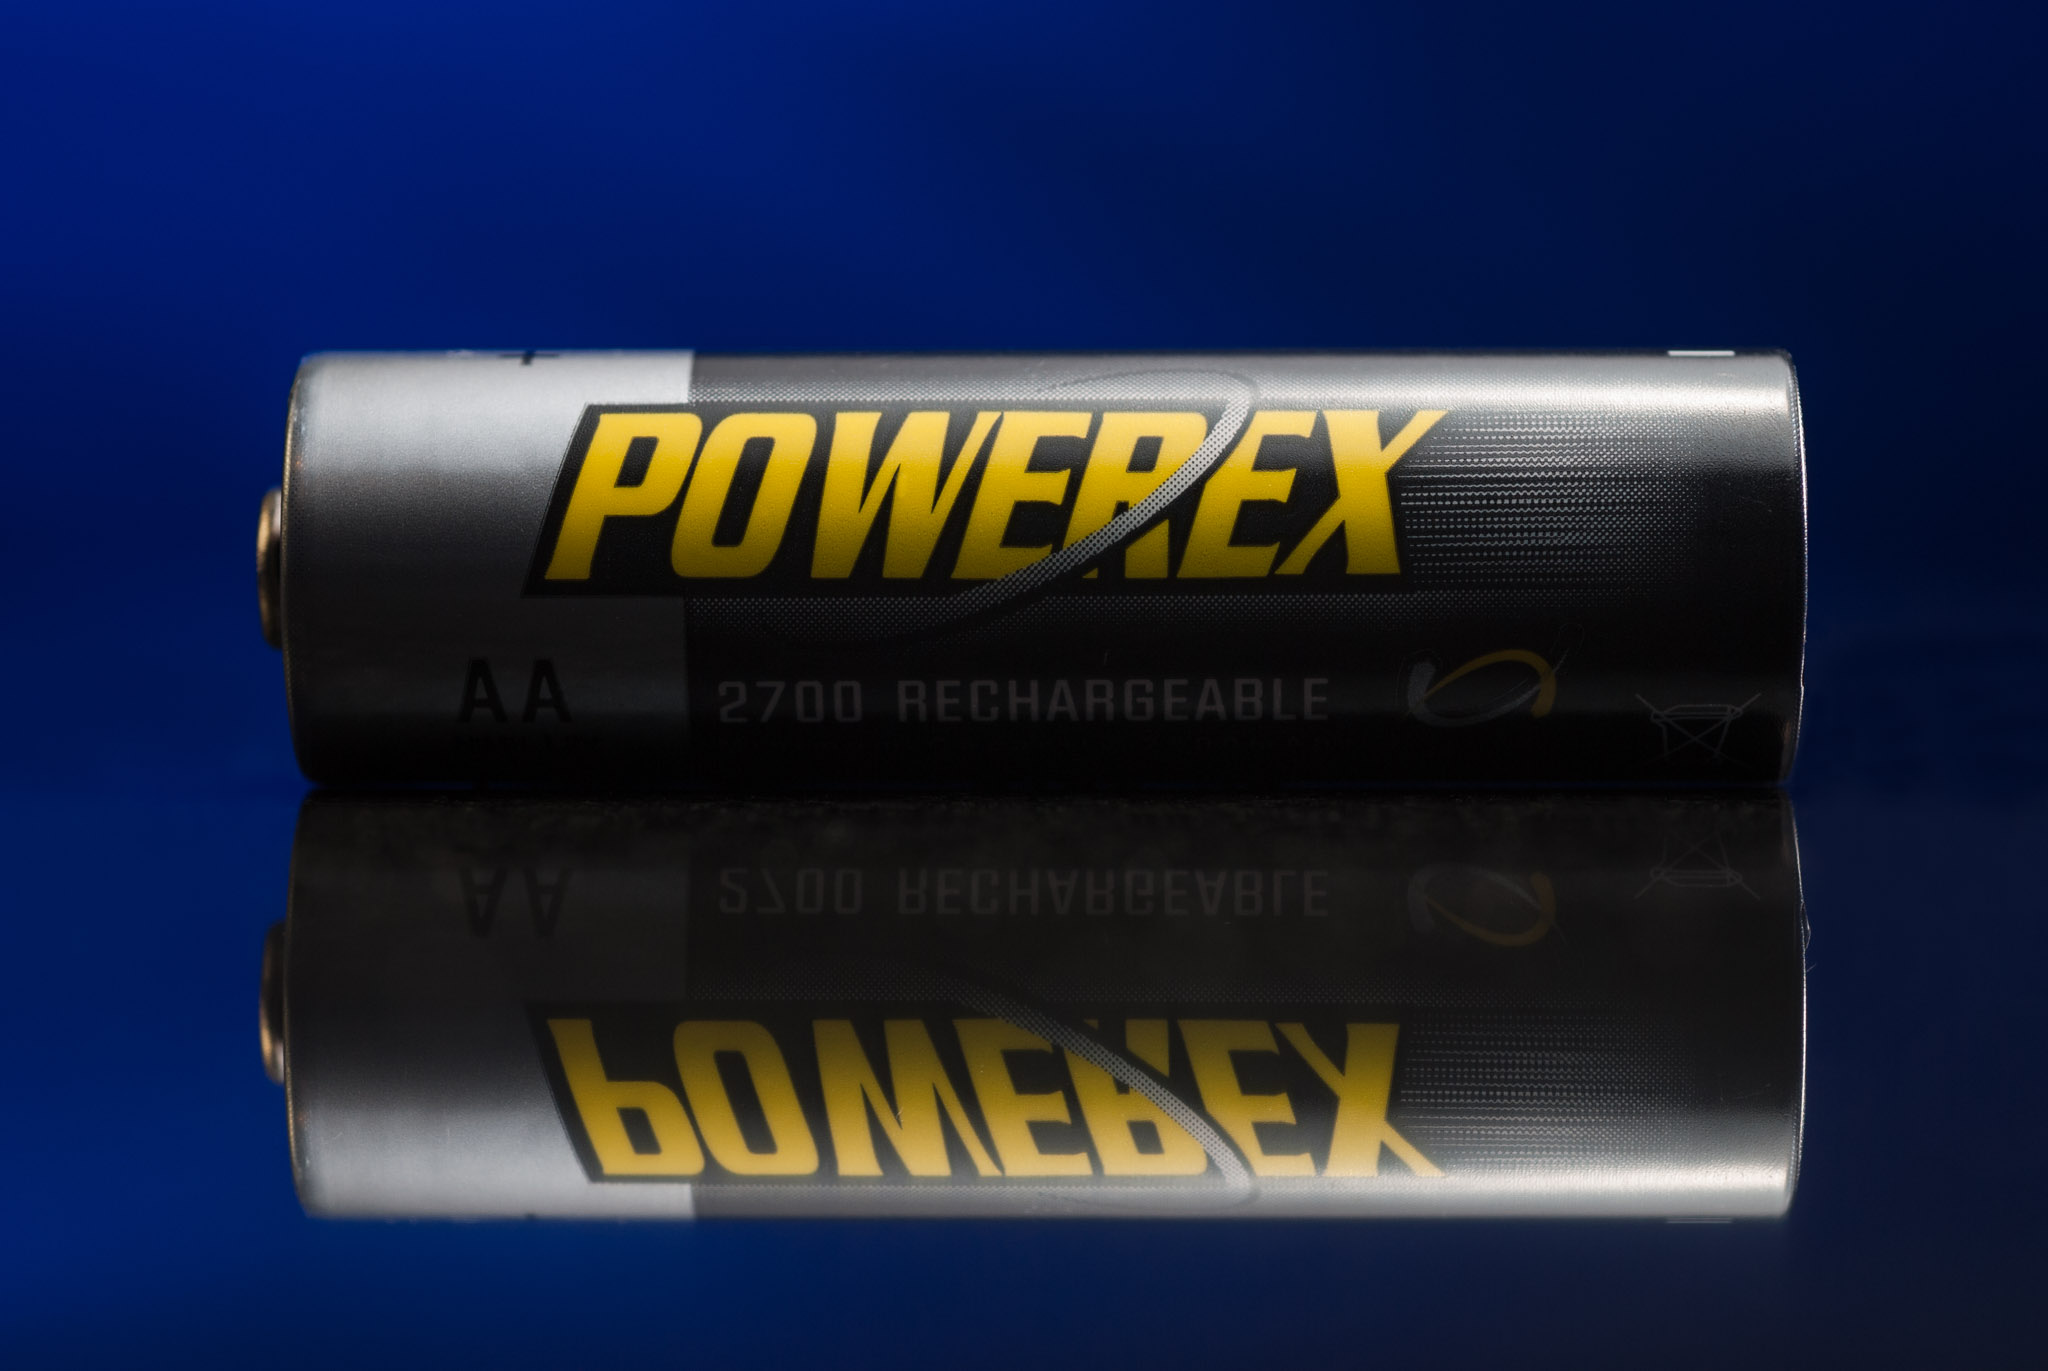
Second, the main light is a small softbox directly above the battery. The softbox may be small to a human, but to a battery it's enormous! That light is creating the smooth highlight on top of the battery as well as illuminating the front of it. The battery is resting on a piece of black granite tile which creates the reflection.
Third, there is a gridded rim light coming from back camera right which creates a subtle highlight on the right of the battery. See it? Also, notice that there is a gold highlight on the opposite side (the positive end) which is created using the gold reflector on the left. By the way, I made that gold reflector by taping gold tissue paper to a piece of foam core and then spraying it with matte spray. Without the matte surface, it acts more like a mirror and shoots the light in very specific, highly uncontrollable directions. The matte surface allows the light to scatter in a more diffuse manner, which is more predictable for product photography.
Check out the unretouched version of the photo next to the final version in the comparison below. The black granite has flecks in it which needed to be removed and I'm pretty sure I forgot to dust it as well!