One of my trusty old Nikon SB-26 speedlights.
That is the question. I'd wager that the vast majority of home sellers, buyers, and real estate agents have no idea that a secret war is being waged by real estate photographers on internet forums around the world.
Yes, war. And oh, what a nerdy war it is. The argument over whether to use natural light (including daylight and fixtures), artificial light (speedlights, hot lights, strobes), or HDR (High Dynamic Range).
Without getting too deep into this discussion (do a web search and you'll find plenty if you're interested), I thought we'd do a quick comparison of the techniques in our lab. Before we get started, I will say that my preference is to augment the existing light with speedlights. Yes, I am a lighting nerd, but it goes deeper than that and we'll get into it. Especially with real estate shots, I like to use my lighting to mimic the existing natural light in the scene, if conditions allow. This way, the light can appear as natural as possible, but with the control that natural light doesn't always provide. We'll of course be using our handy-dandy living room lab to help us observe these different approaches.
First off, a natural light approach. Arguably the easiest (and possibly most frustrating) way to do things is to let the light come to you. Natural light at its best is the best, hands-down, but you don't always get to pick it. And when you have to do a real estate shoot, you don't always get the time of day that you want. Plus, what about the weather? Clouds, rain, direct sun, off-color light being bounced in a window off a neighbor's puce-colored house? Yes, puce, not puke.
You don't get any control with natural light, so you're at the mercy of the time of day and the elements. Good luck!

Natural light can be beautiful, but incredibly frustrating.
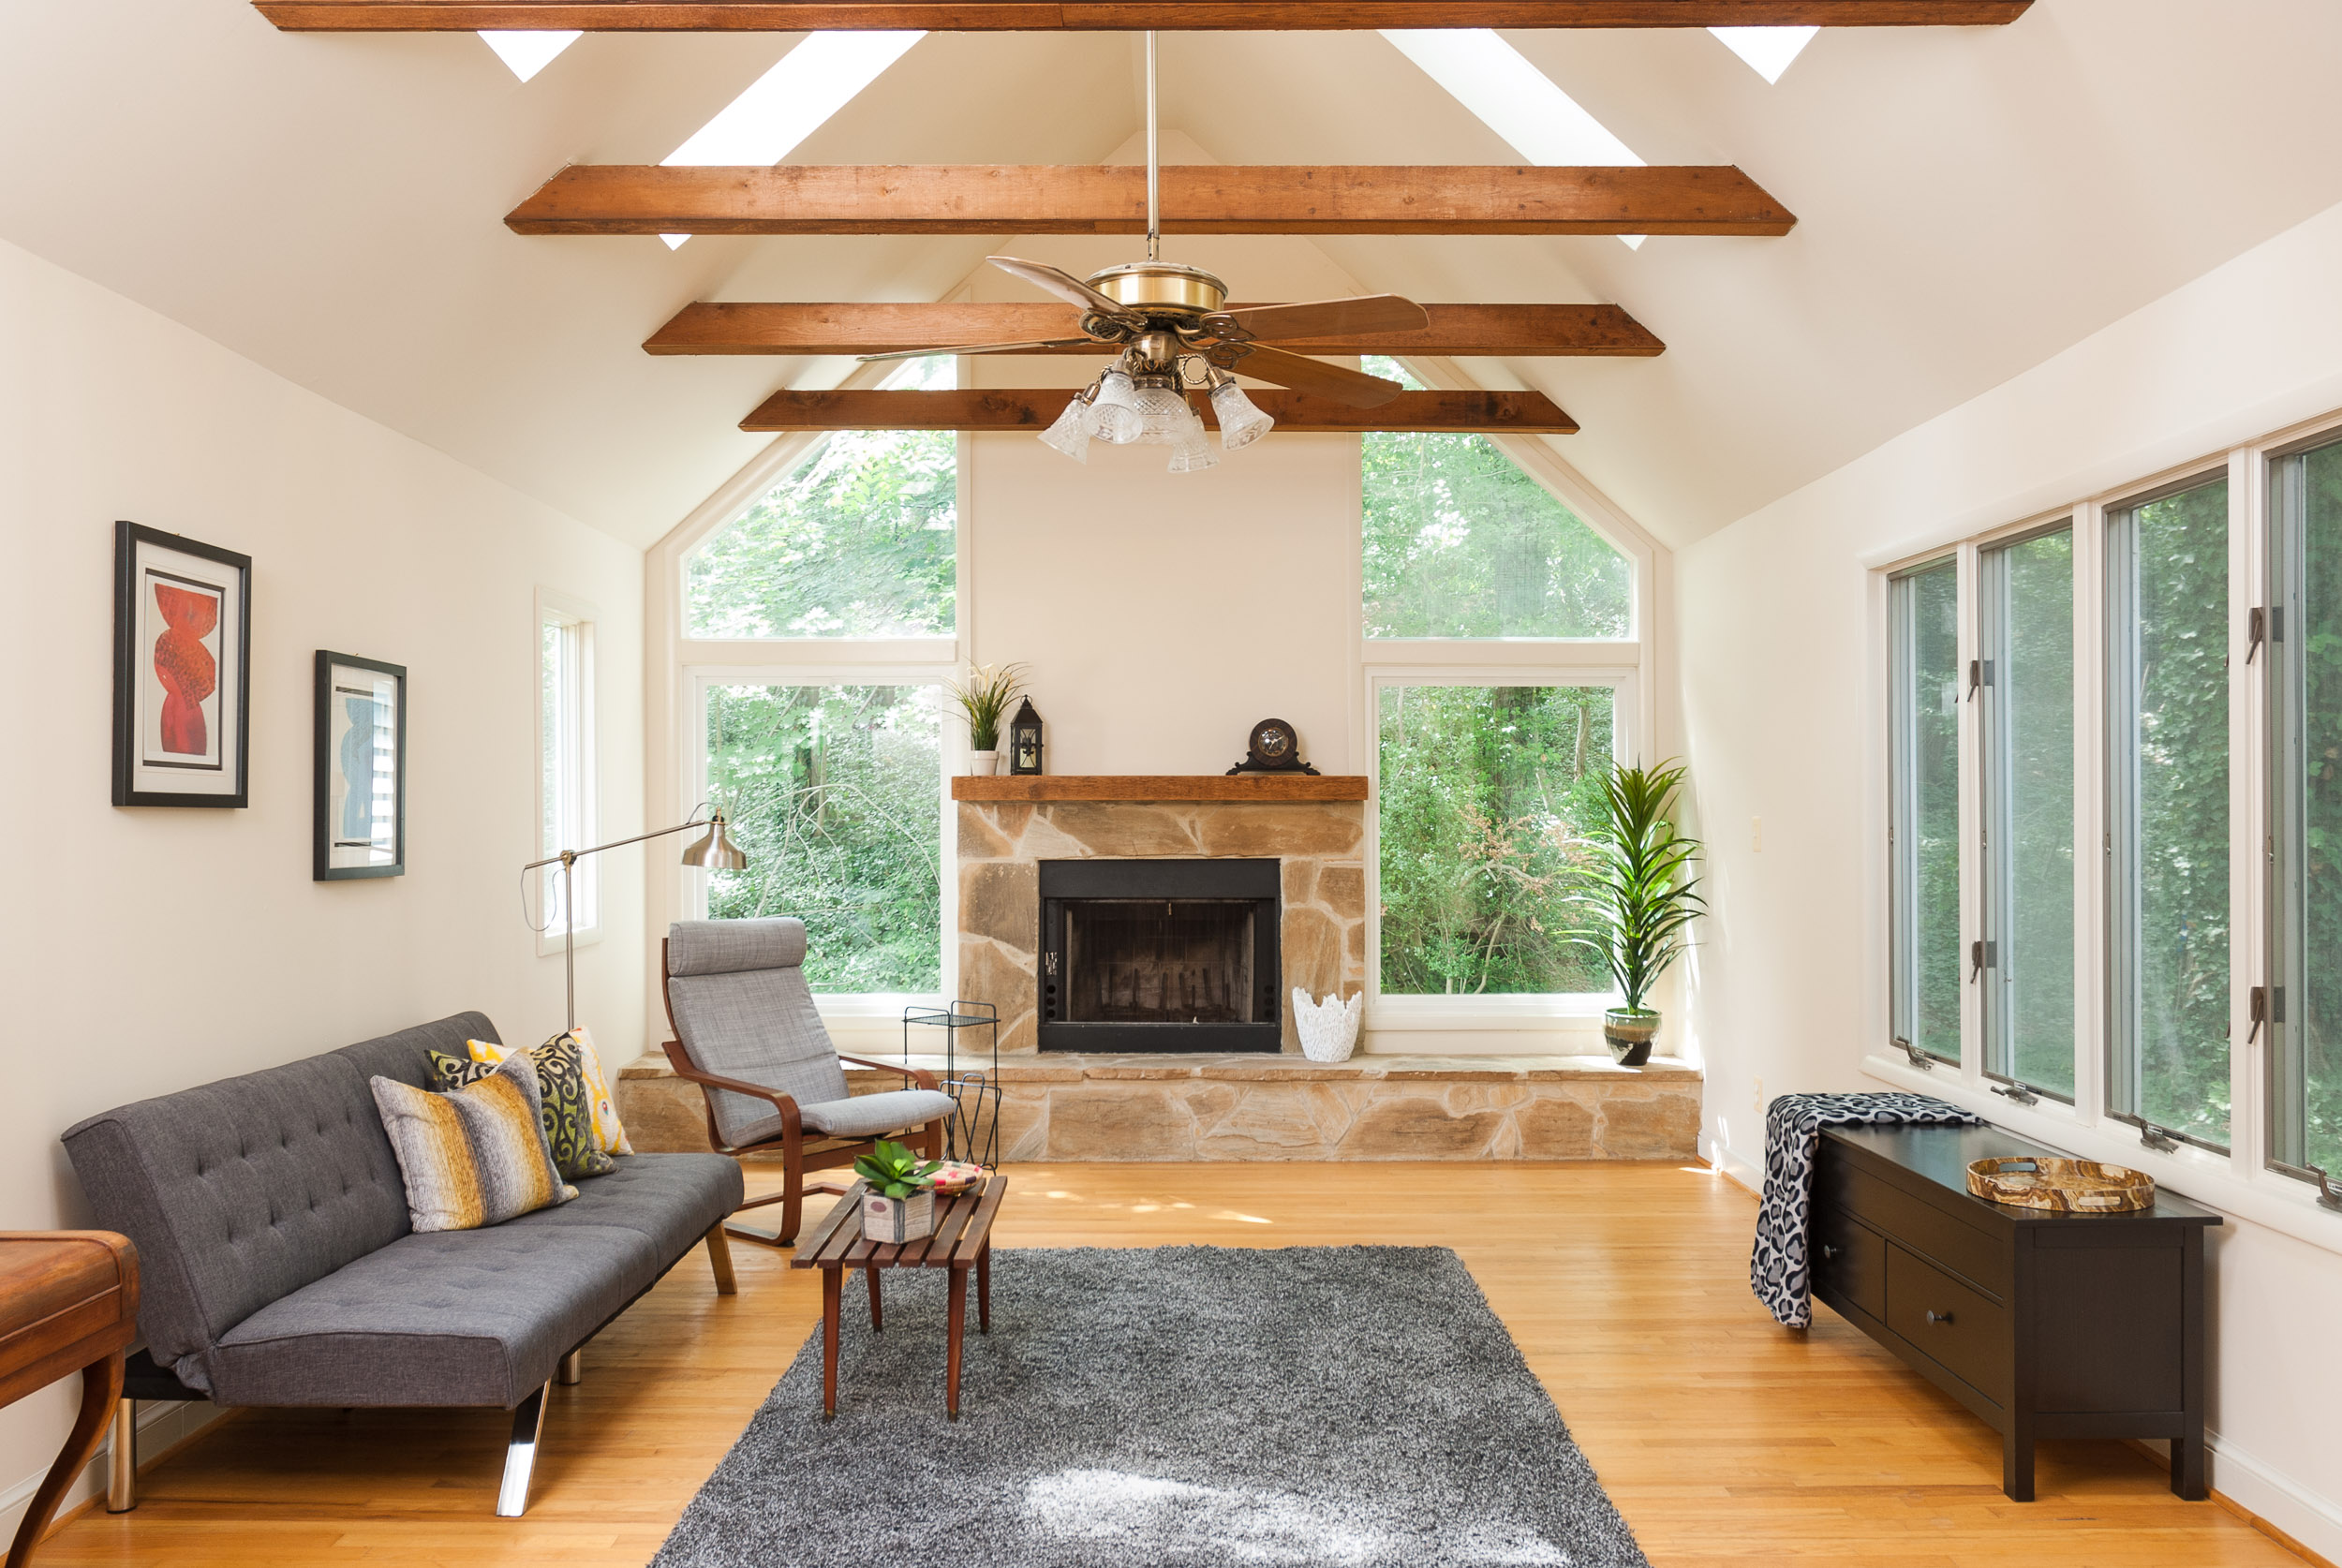
The light in the photo above isn't bad at all. I was lucky to have no direct sunlight streaming in, so it creates a soft overall feeling inside the room. When shooting interiors with natural light, you'd better have one of two things: Lots of windows, or some pretty well-designed/positioned light fixtures. In this case, the windows provide plenty of light, and a decent quality of light at that. The problem is that you can't really control your window exposure, so you will almost never be able to see the scene outside (not that you always want that, but it's nice to have the option). The workaround is to shoot closer to dawn or dusk, neither of which are always convenient (if an option at all).
With a little bit of post-processing, we're able to pull off a pretty decent real estate shot. In the photo above, I pulled up the shadows, toned down the whites and highlights, and so you can have a natural light photo with decent dynamic range (and my camera is 10 years old!).
Next up, HDR, which is short for High Dynamic Range. The oft-abused, yet overly popular stepchild of the photography world, HDR has become incredibly popular with run-and-gun real estate photographers. And you can understand why:
It's quick (not much longer than taking a natural light shot). It's easy (software does the blending for you). It lets you compress those highlights and shadows so that a viewer can see all of the details.
The problem is that it gets abused. Do a quick Google search of HDR photography and you'll see what I mean. Garish colors, angelic haloes around objects, flat lighting. Weird, but oddly attractive to many people.
There is a process called hand-blending where a photographer goes through the HDR process by layering multiple images in Photoshop, and then selectively revealing the different exposures to create a well-crafted final image. It can take an hour or more to hand-blend one photo.
On the other hand, the majority of HDR in real estate photography is done by loading the multiple exposures into software and letting the software decide which parts of each photo to blend together. The results are not always very pretty, and control is not its strong suit.

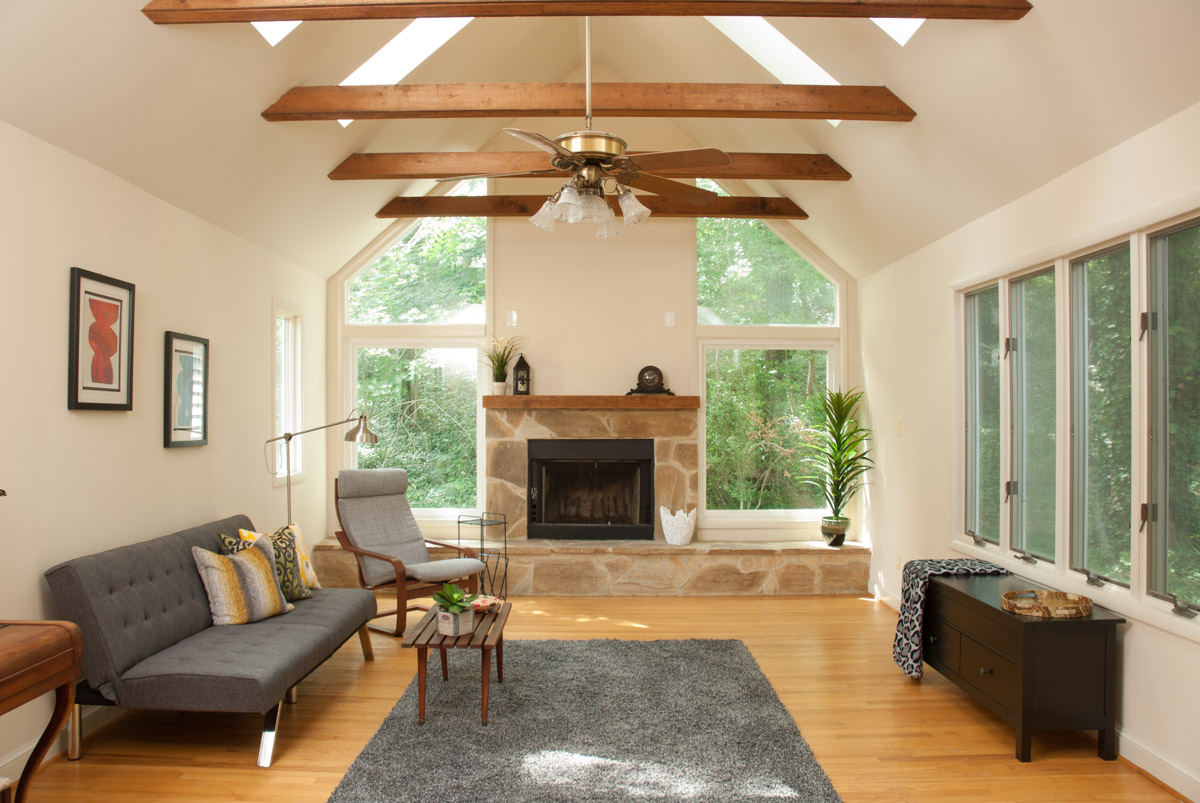
An HDR image created in Lightroom from seven different exposures.
My HDR experiment went surprisingly well, actually. I took a 7-exposure bracket (one exposed "properly" and then three shots underexposed and three shots overexposed). Then, I selected them all in Lightroom and let the software do its magic. Lightroom exercised impressive control and created a not-all-that-garish photo; however, I had little control over the process.
My preferred method, lighting with flash, is all about control and that's why I love it. You're essentially creating two exposures in one, because the ambient portion of the exposure and the flash lit portion of the exposure are affected separately by the shutter speed. Therefore, you can have your windows and fixtures exposed where you want them, and then light the room with flash to create a well-balanced photo.

A single exposure lit with multiple off-camera flashes.
Just like HDR, it can be easy to abuse flash, so I have a few rules that I tend to follow when using flash for real estate photography. The first rule is that it has to look as much like natural light as possible. When I'm shooting creative portraits or even interior design, I can get much more creative with the light, but real estate photography has to look like the real thing. Prospective home buyers don't want to walk into a space and have it look nothing like it did in the photos!
I always try to have my flash come from the same direction as the natural light. In an ideal world, that means throwing some umbrellas outside of the windows to augment the natural daylight. Practically, I don't always have time for that, so it means bouncing a flash off of an area near the windows (but still out of sight of the camera). In the example above, my main flash was being bounced from the upper right corner of the photo (just out of view). It's not perfect, but it's close to that window in the photo and so the direction of the light seems logical. A second flash is being used as a very subtle kicker coming in from the hallway off to the left of the toy box. This mimics light that could be bouncing in from that hall (which has a couple of windows). My third flash is on the camera, being bounced into the ceiling. It's not really contributing to the exposure; rather, its role is to fire the other flashes through their optical slaves.
Sound complicated and expensive? Not really. It does have a bit of a learning curve, but it's easy to start with an on camera flash bounced into the ceiling and see where that takes you. As far as cost, it's easy to find old, used speedlights. My Nikon SB-26's with the optical slaves usually cost between 70 to 100 bucks. Cheap, as far as camera gear goes!