Nikon D200, Tokina 11-16mm @ 11mm (approx. 16mm full frame), ISO 400, f/8, 4/10 sec.
This is now the second house flip I've photographed for Teresa Bosch and company at Bosch Homes, LLC. They redesign, remodel, stage, and then sell the houses they work on. Teresa's work is excellent and I always find myself wanting different elements of the homes she works on in my own home. You can see what I mean in the photos.
As Teresa's end goal was to sell the home, I shot the photos with a real estate mindset. Wide, bright, and cheery. There were some definite challenges on this shoot, so I'd like to go into the process behind a couple of the photos I made for her.
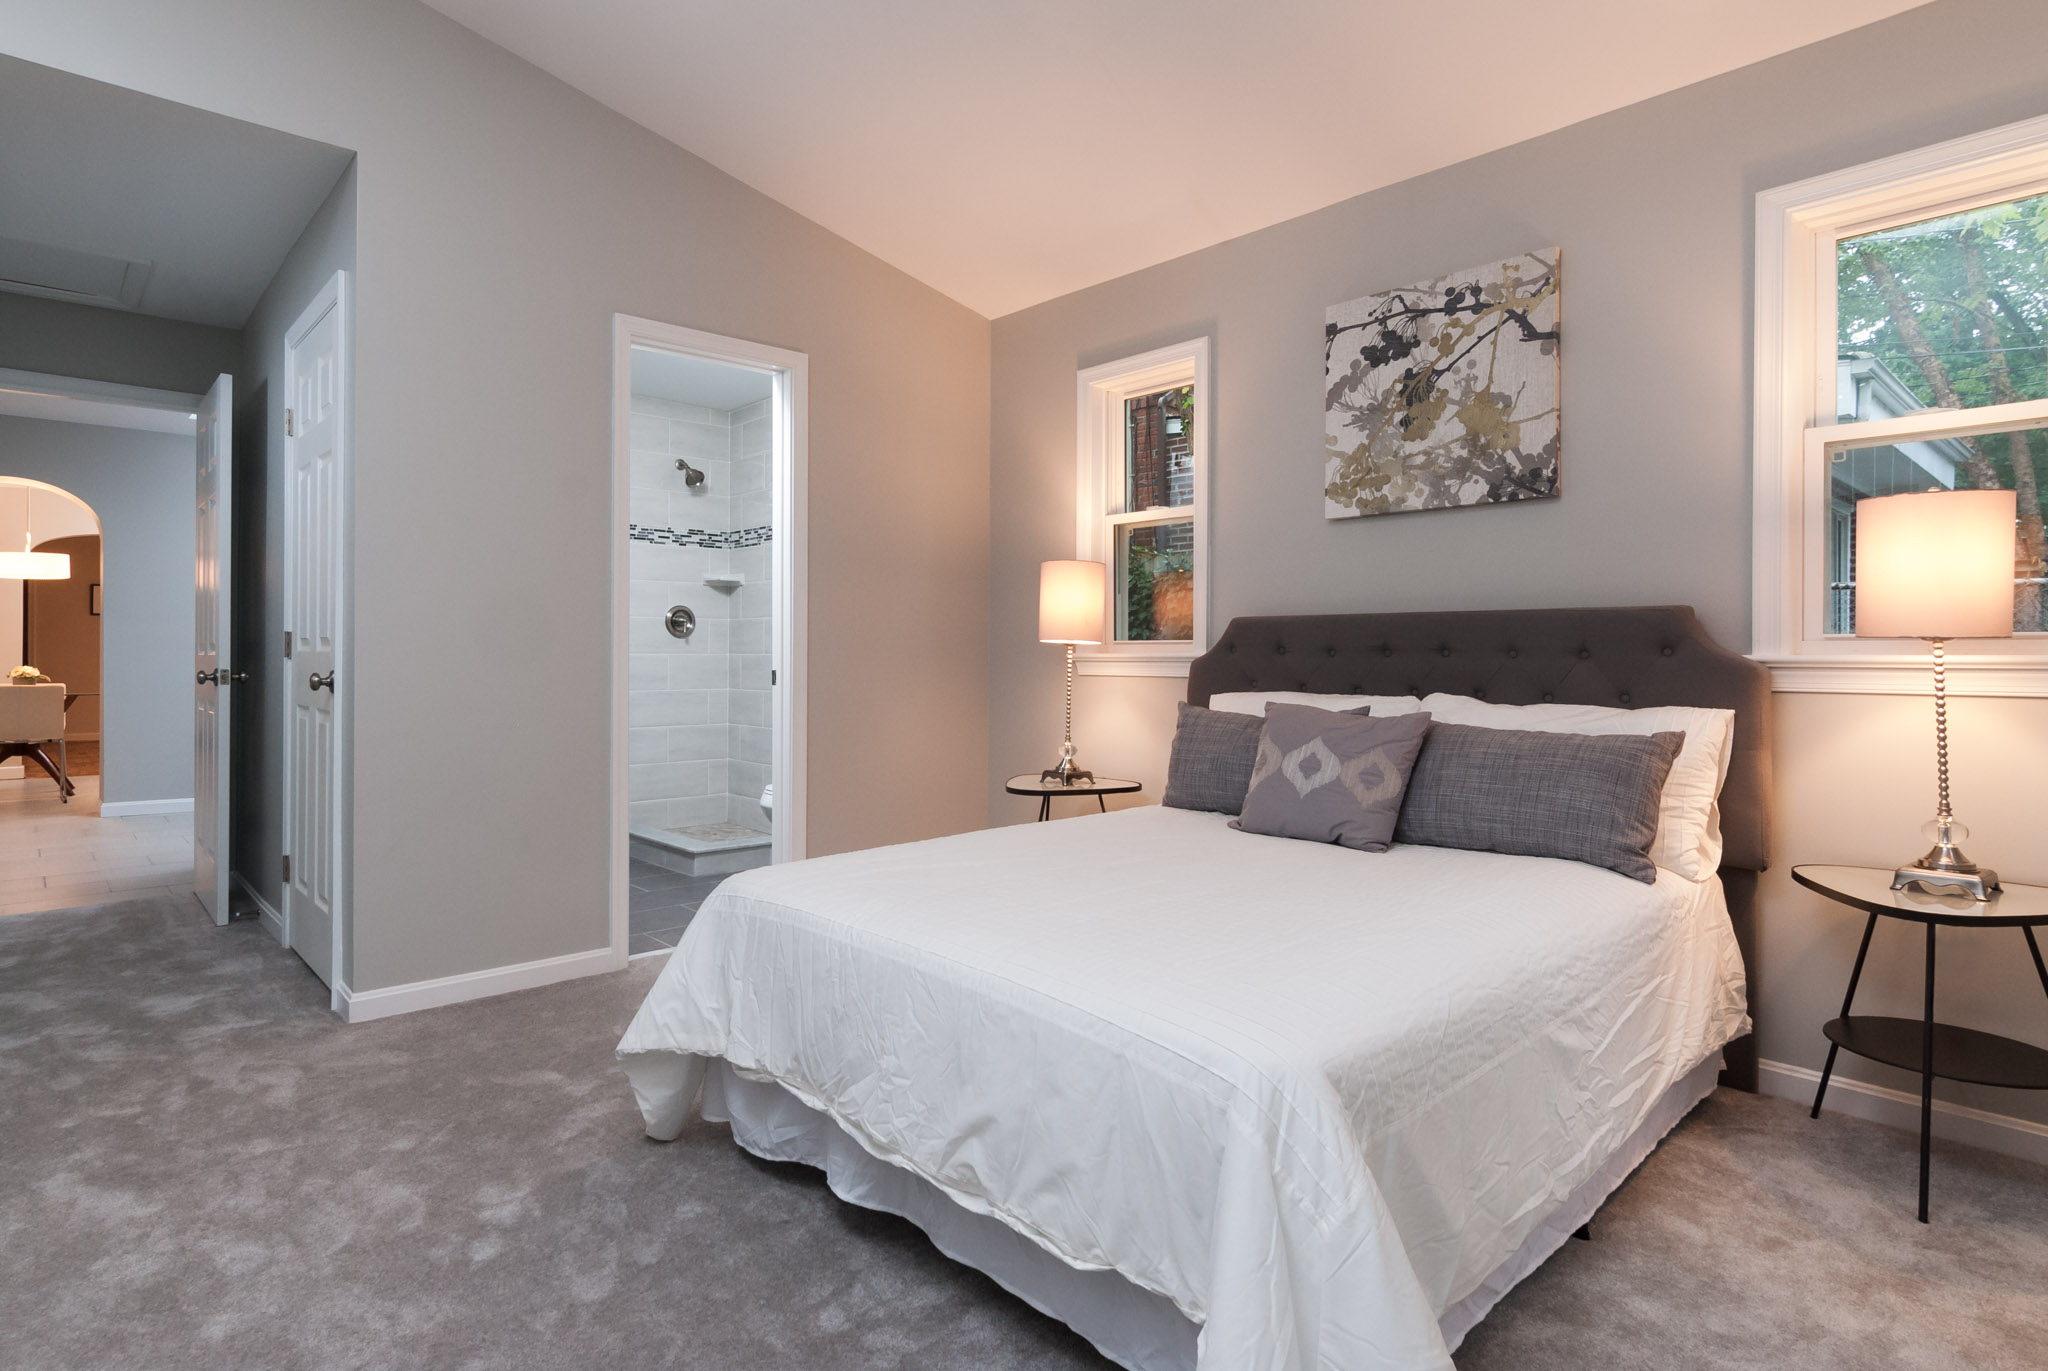
At the top of this post is a version of the photo below that I made for my portfolio. You'll notice that the photo above is cropped tighter, has a little less color cast, and is missing the wires, ceiling fan pull cord, wall vents, and switch plates. You don't want stuff like that cluttering up your portfolio shots, but you can't do that sort of thing with a real estate photo, which is why I left it all in the shot below. It's also not cropped so as to make the space feel even bigger.
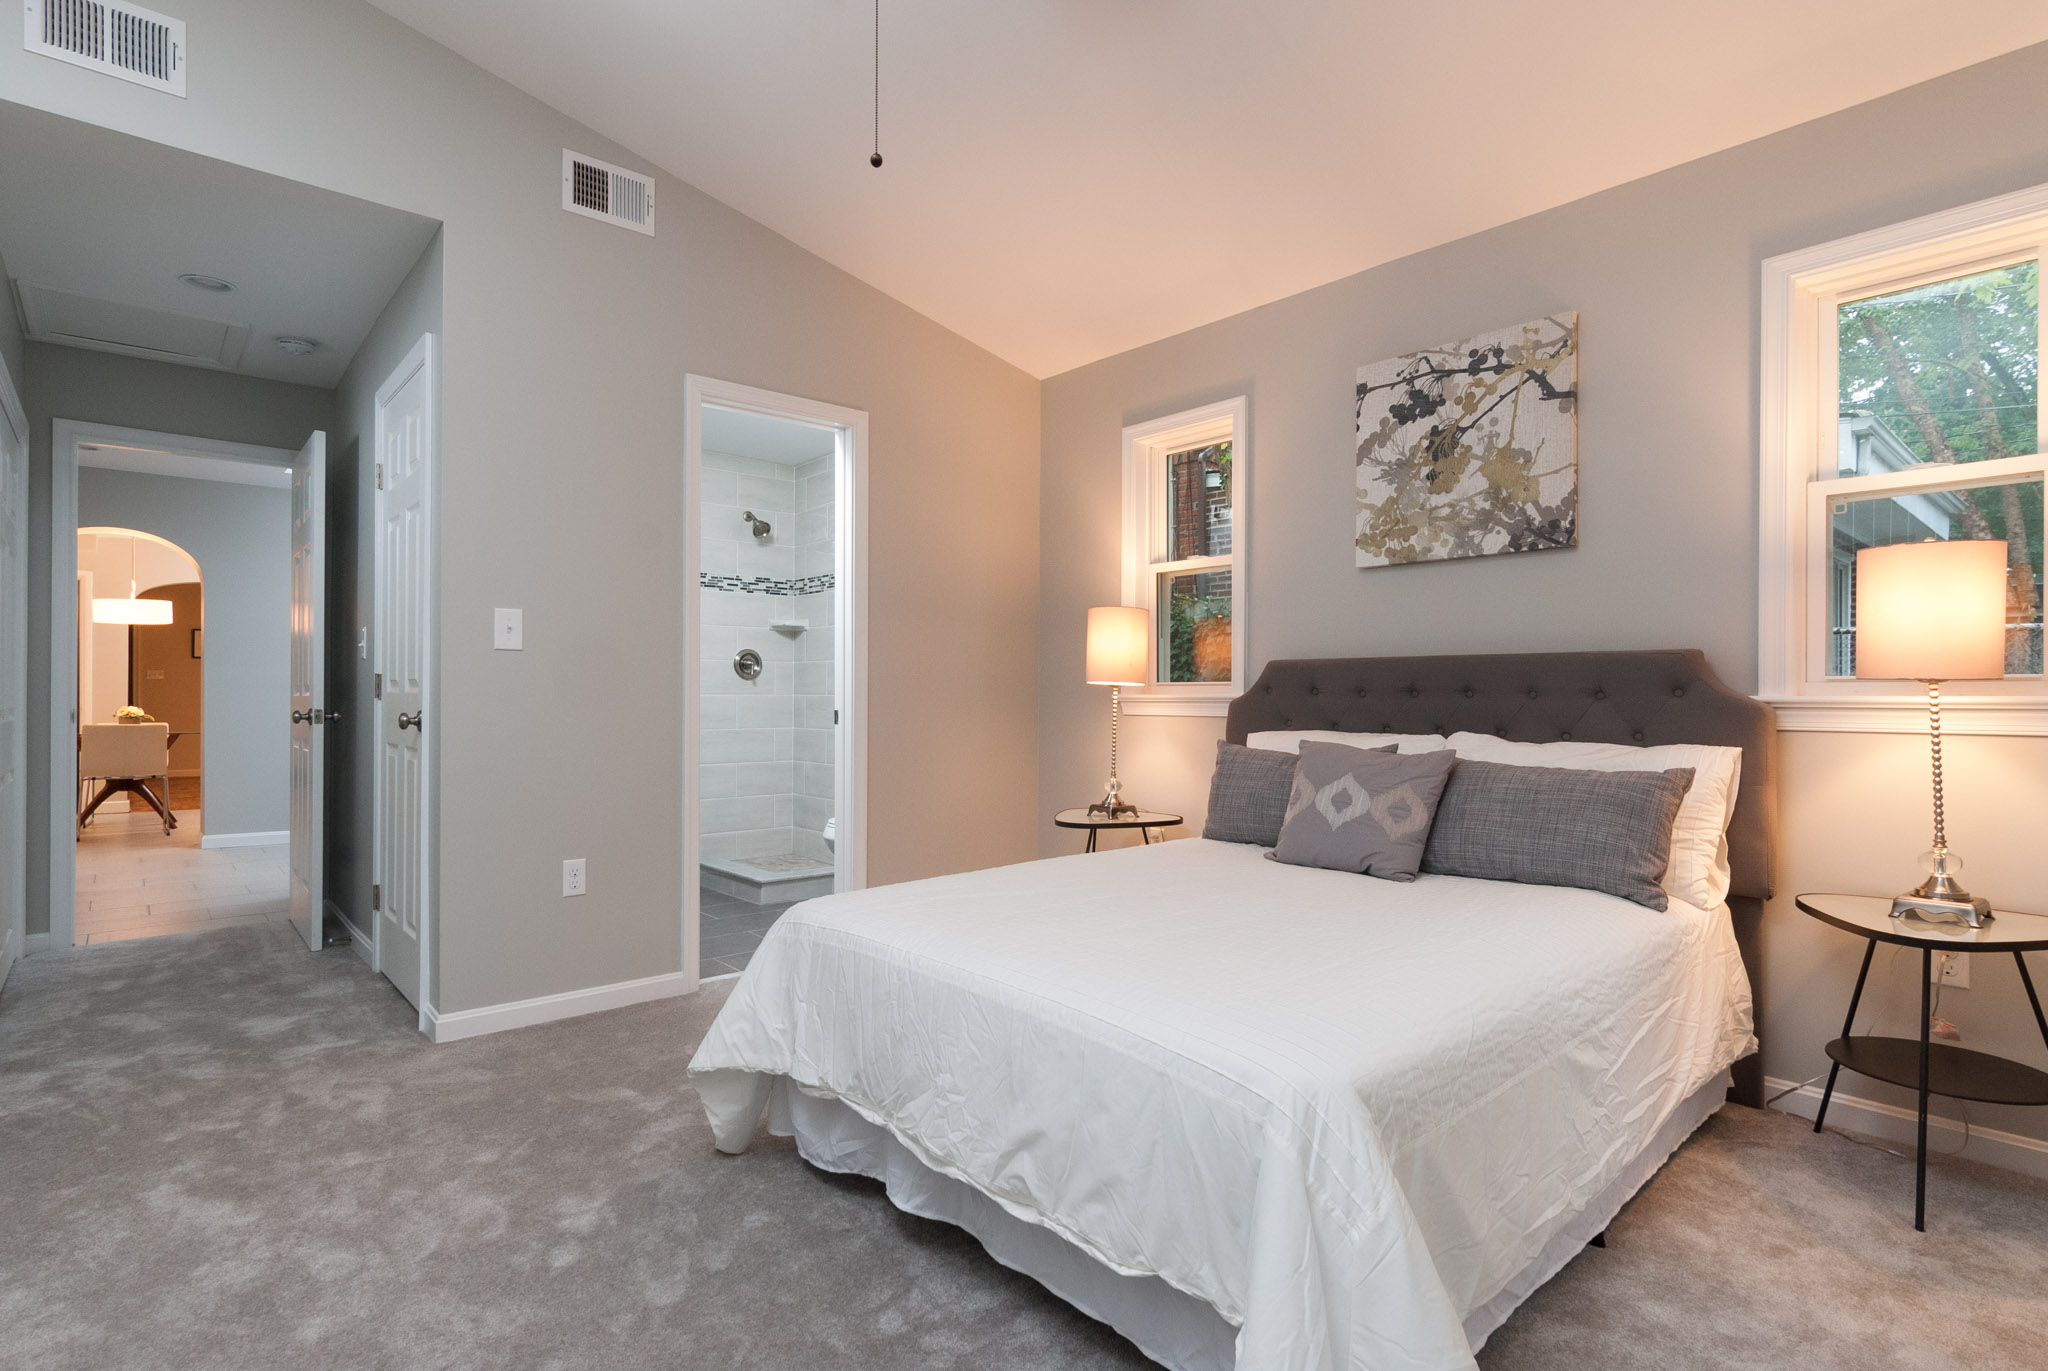
Classic real estate photography: wide, bright, and inviting. "Buy me."
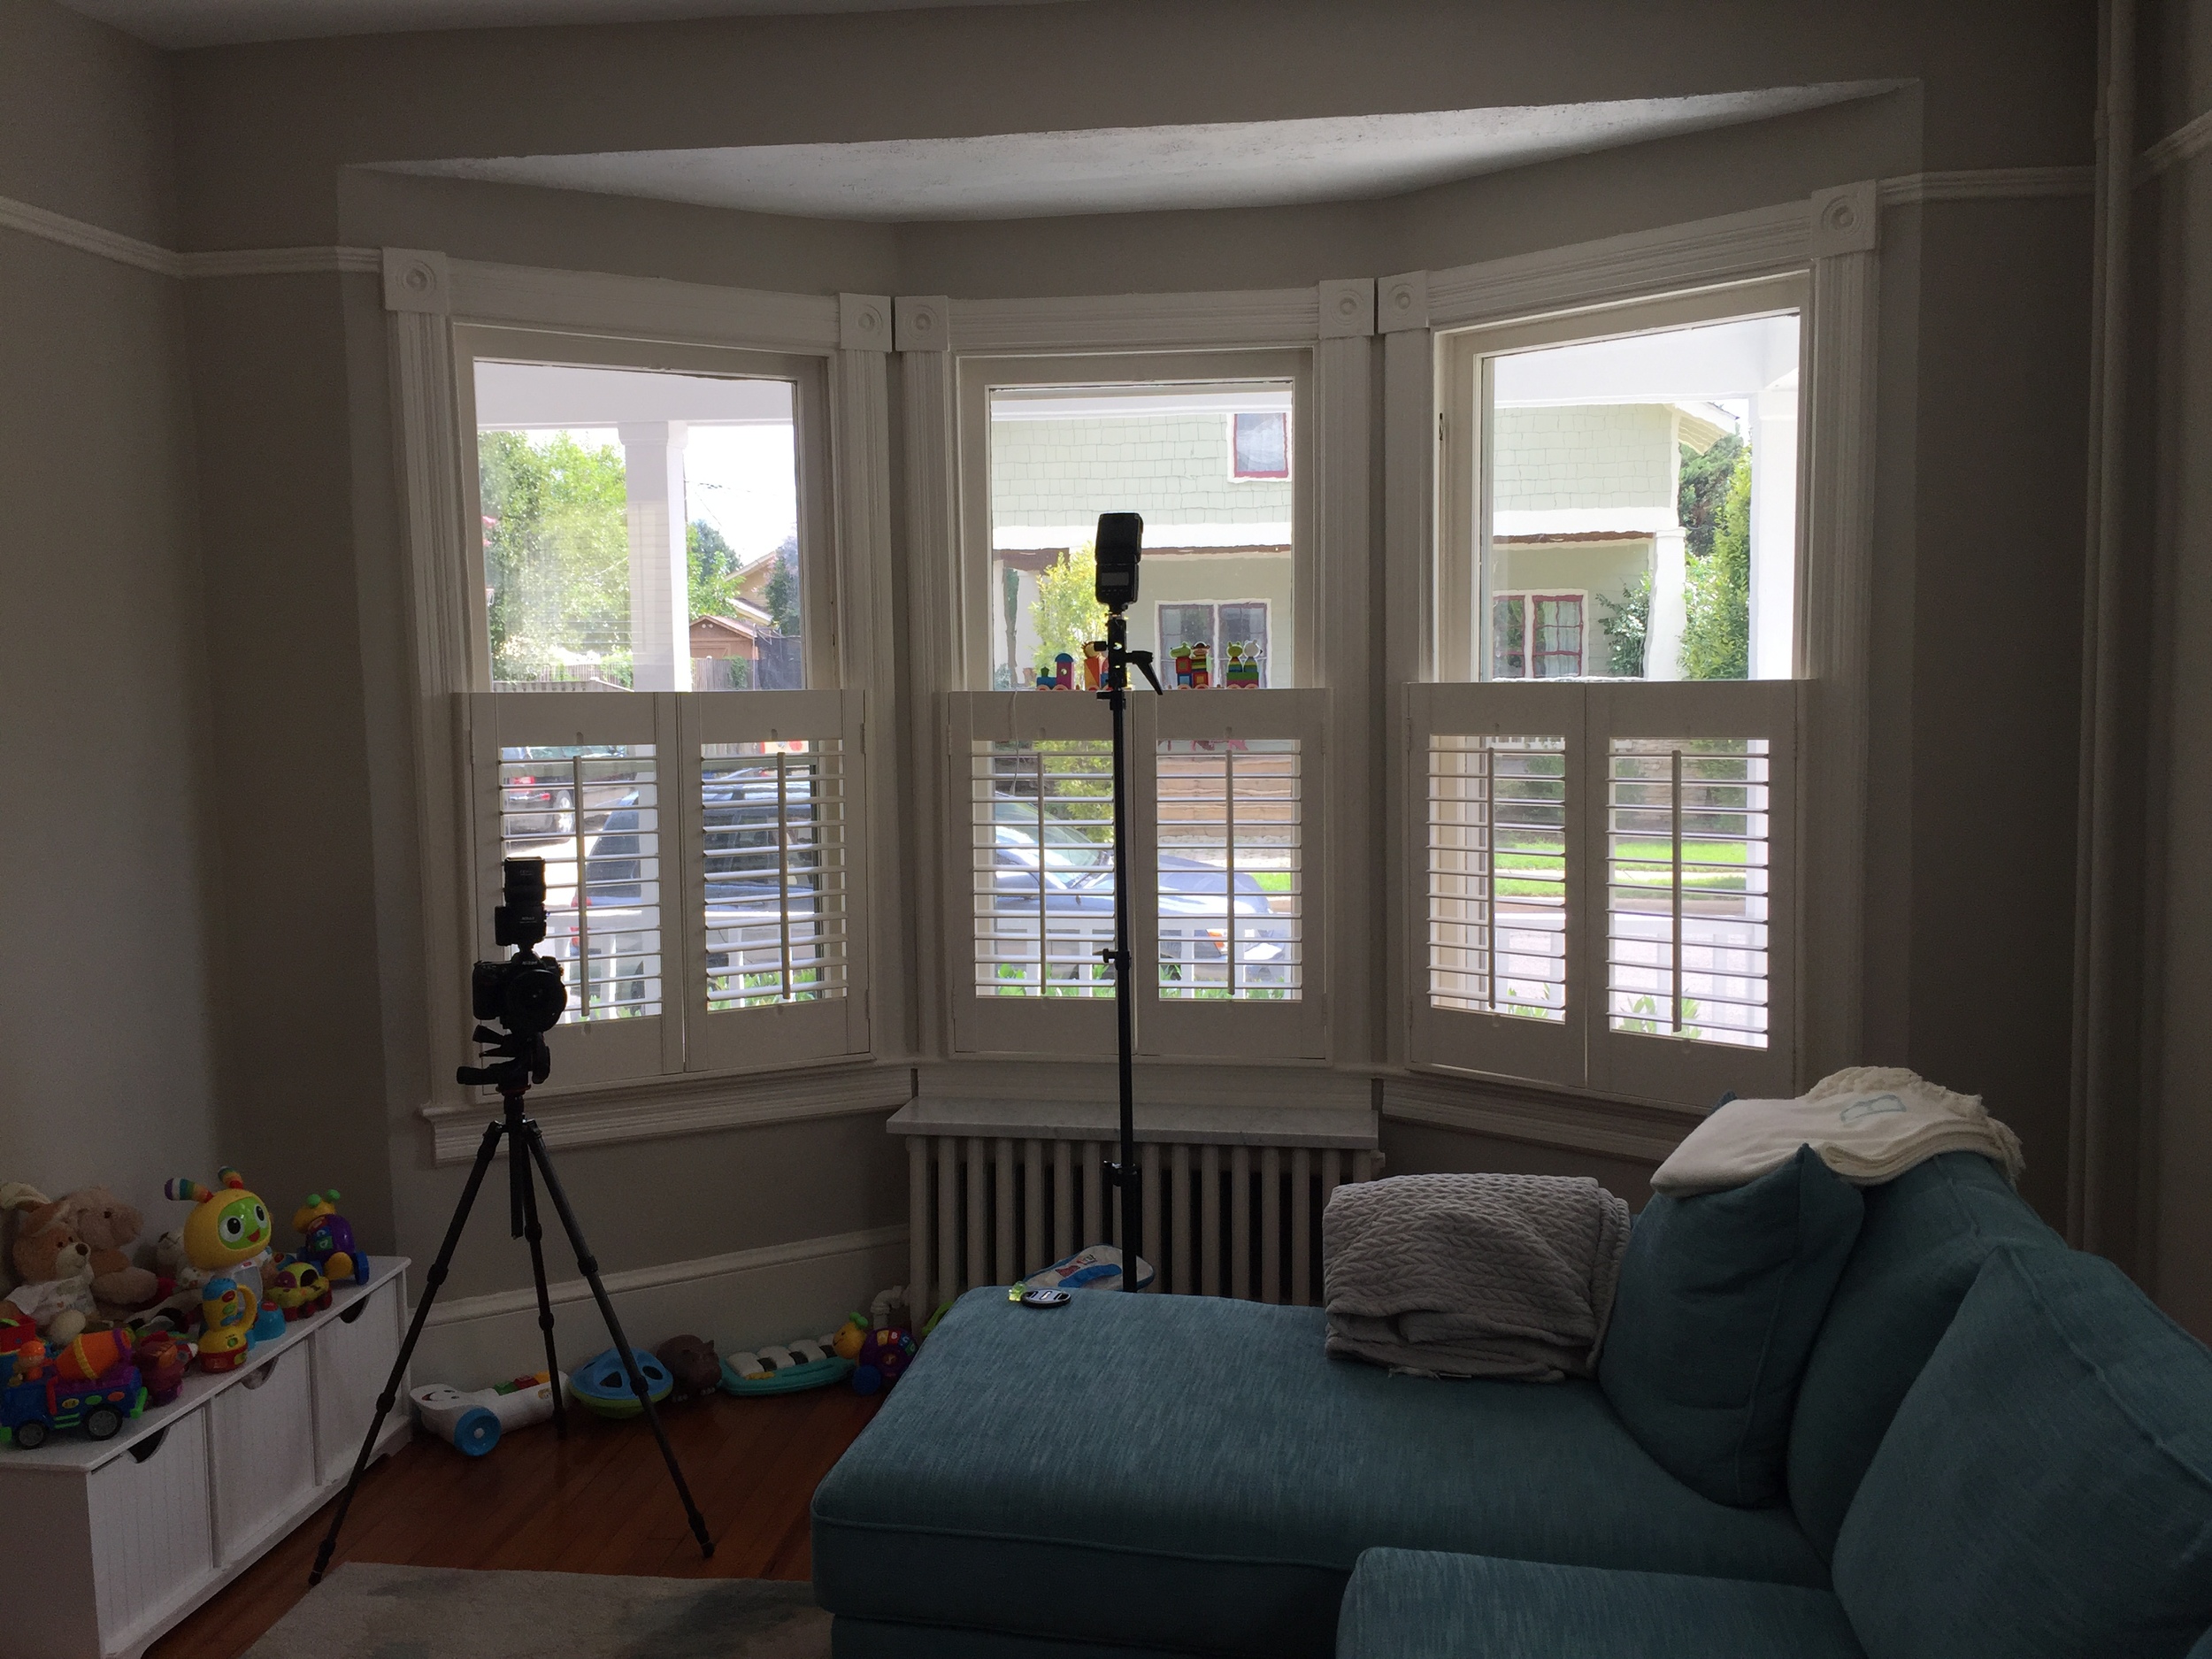
One of the major challenges I faced during this shoot was the available ambient light outside. We weren't able to shoot the house until 4 pm, and it was close to 5 by the time I got to this room. Add in the rainy conditions and the fact that the days are getting shorter, and you get a pretty poorly lit window exposure. It's usually a really easy thing to control because you can use shutter speed to control the window exposure, and then add flash to illuminate the interior.
I did that here, but it starts to become an issue when you want light fixtures turned on in the house. To bring up a dim window exposure, you then run the risk of severely blowing out your fixtures. In the photo above, you can see that I'm getting close to that danger zone, and although everything worked out, the fixtures were contributing to the exposure more than I wanted them to, hence the warm glow. I think the warmth is actually fairly inviting in this photo, but the color cast does bother me a bit. If I had all day to make this photo, I could have done all sorts of things to fix these issues, but in real estate photography sometimes you have to compromise.
Oh, and if you're wondering why I even bother using flash when I have the fixtures contributing ambient light, the unlit photo below should be enough proof!

The ambient-light exposure of the above photo.
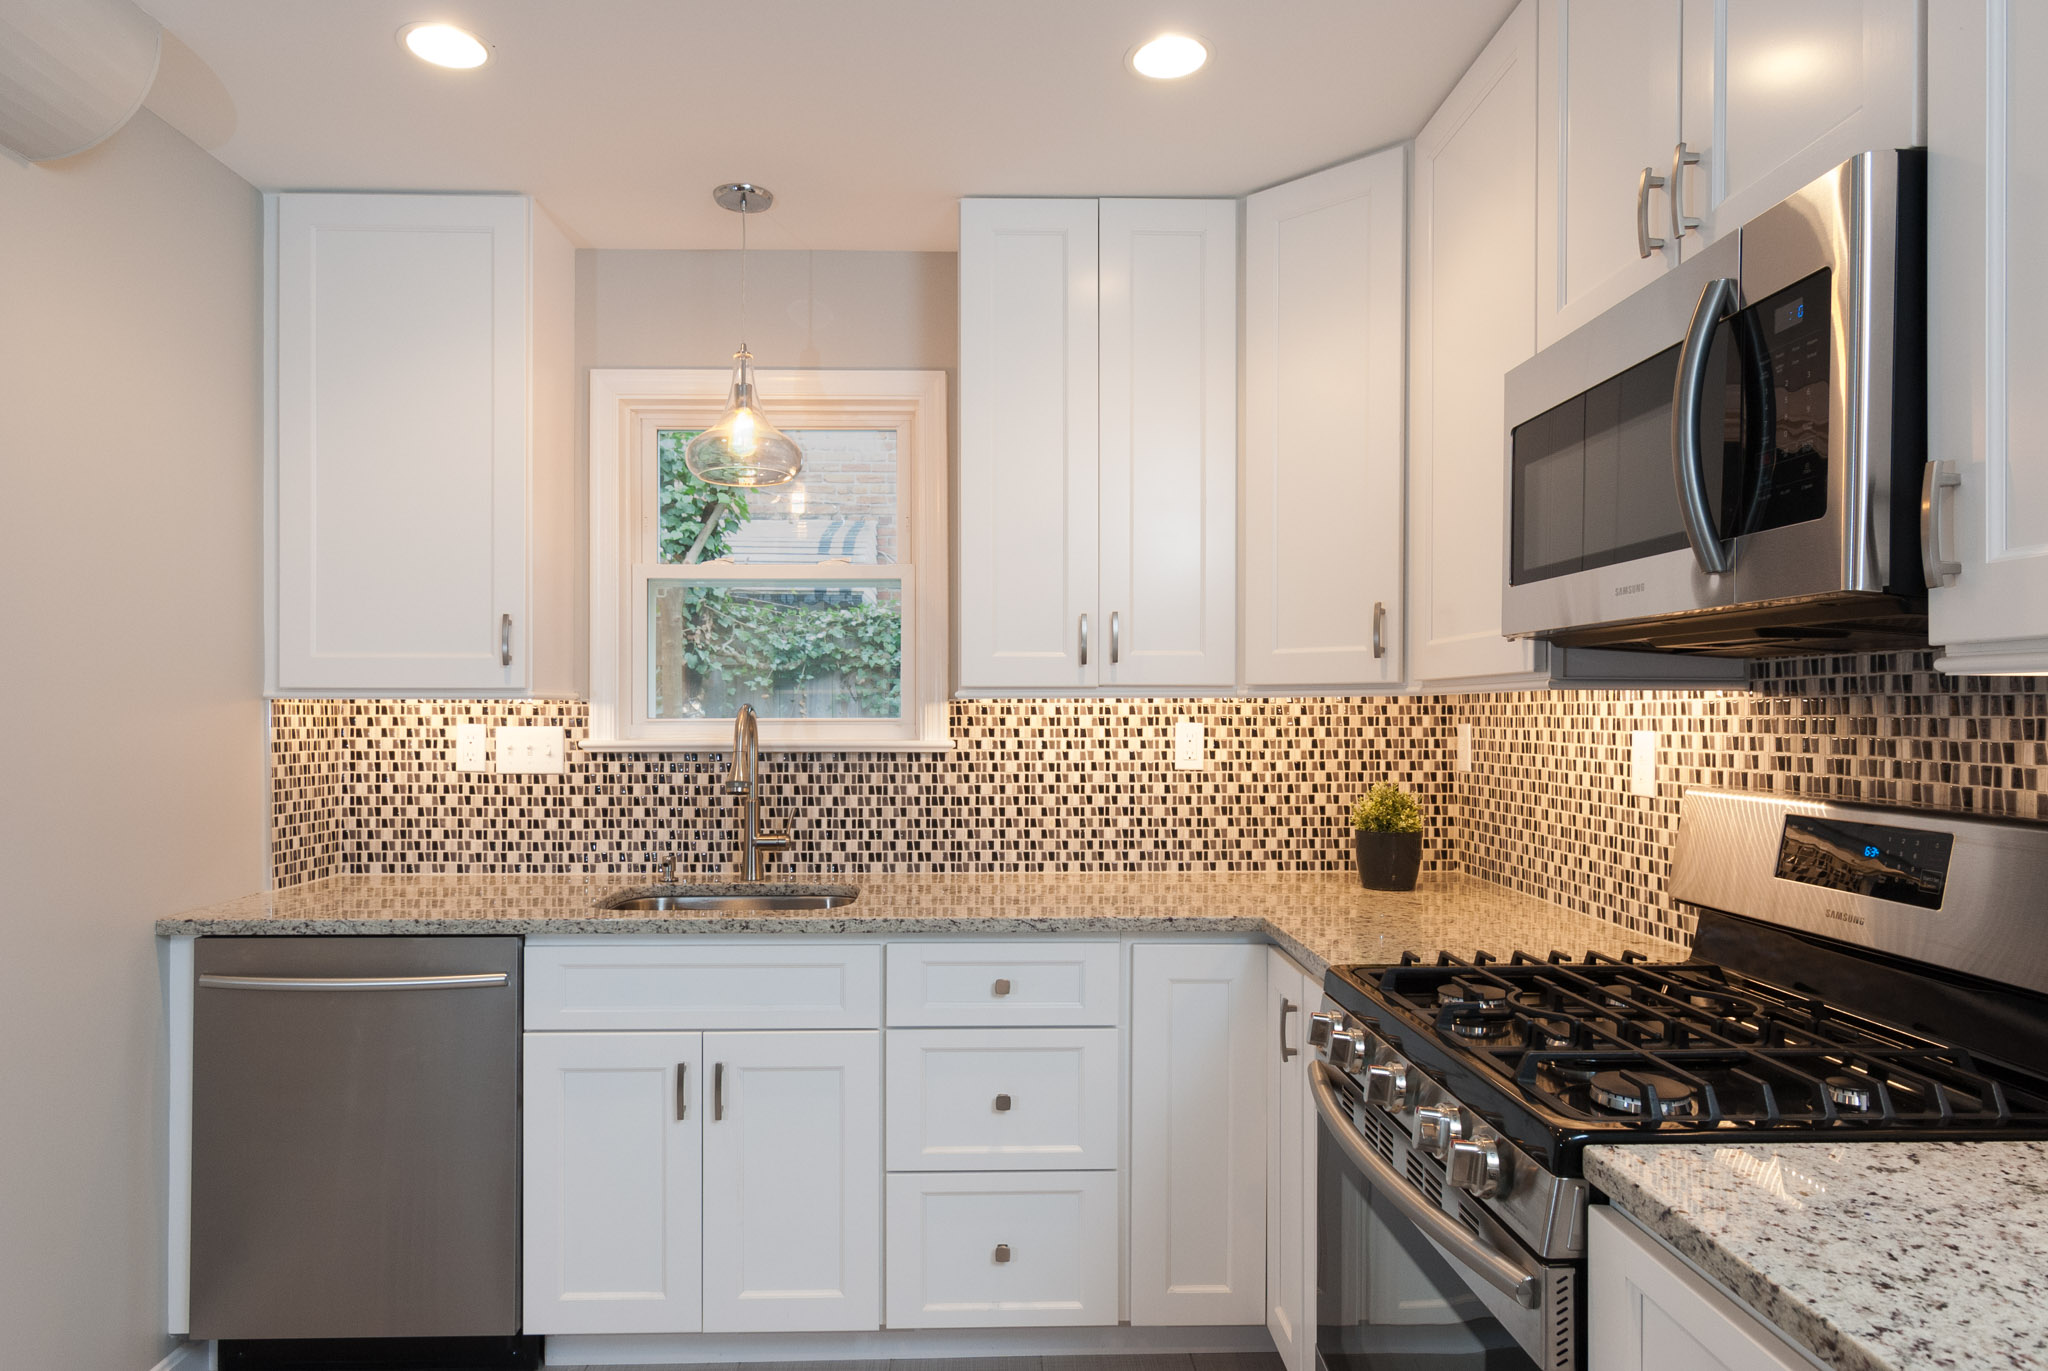
I mentioned before that the bedroom photo was shot around 5 pm. Well, the final photos I took of the house were in the kitchen and I was pushing 6 pm by the time I got around to those. By that time, the ambient light outside had dropped considerably and things were looking downright dark.
Let's walk through the whole process of the kitchen photo from start to finish. Keep in mind that I want the light fixtures on, I want the window to look bright and cheery, and I want to light the rest of the room to improve the color, quality, and direction of the light. The first step is usually to expose for the window and let the light fixtures fall where they may. Well, with the ambient outside light as low as it was, it would have turned the light fixtures into nuclear orbs. So, I was forced to do the opposite and expose for the light fixtures, letting the window go dark. Even so, I had the light fixtures maybe a tad on the hot side.

Ambient light photo of the kitchen. Check out that window!
Is that a window, or is it a black hole? Hard to tell! Okay, next I add some speedlights to bring up the kitchen the way I want to see it and we get the photo below.

The black hole is now reflecting one of my speedlights. Don't worry, we'll deal with that soon.
Notice how the speedlights help to erase a lot of the color cast from the fixtures, but there's still a warm glow from them. They also bring up the exposure level of the room, as well as create some soft, flattering light. That's all great, but we still have a really weird vibe with that dark window. This is the time for some Photoshop magic. I had pretty much already decided to take a separate exposure with the light fixtures turned off. That way they wouldn't go nuclear and I'd have my bright, cheery window. Then all I needed to do was mask the window in using Photoshop. It's not the easiest thing in the world, but it's not that hard either. I wouldn't want to do it on all of the photos in a real estate shoot, but I had no choice here. I certainly wouldn't want to deliver the above photo to my client!

A window exposure with the light fixtures turned off.
In order to get the window exposure above, my shutter speed was 8 seconds. 8 seconds!!! Ridiculous... what's wrong with me, right? But hey, you play the cards you're dealt. By contrast, the exposure for the fixtures was 1/10 of a second. If I'm doing my math correctly, that's a bit over six stops of light difference between the light fixtures and the outside ambient light. In this case, the difference is night and day. Oof. Sorry.
The final image, after using Photoshop to mask in the window from the previous exposure.
A nice side benefit from masking in the window was that I got rid of that pesky speedlight reflection. I could have moved the speedlight a bit to get it to go away, but once I knew that I'd be masking in the window, I didn't need to worry about it! The final product is a photo that no one (except you, dear reader) would expect was taken at 6 pm on a rainy, overcast fall day.
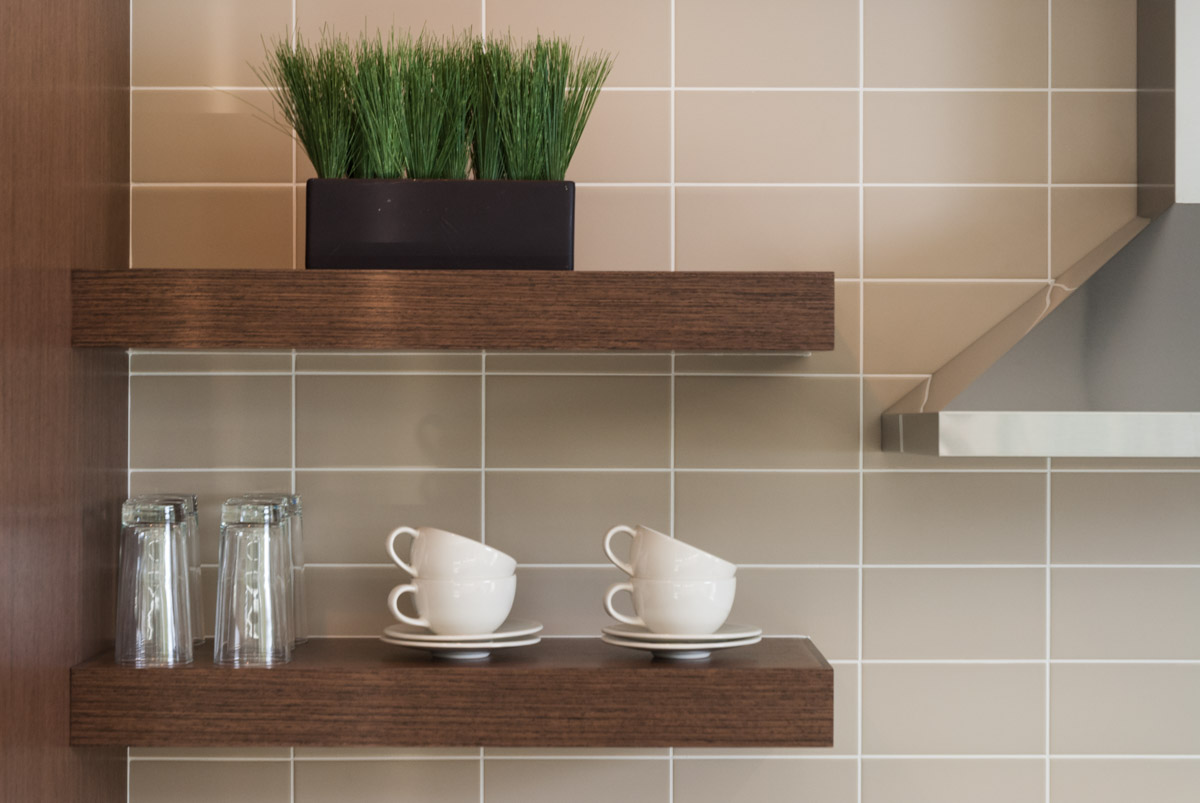
I'll share one more photo with you before I sign off, and this one was perhaps made more possible by the fact that it was so dark outside. During the walk-through, my client mentioned that she might like a shot like this, but not to worry about it if I didn't have time. The thing is, do you think I'm going to let a photo go by that my client said she might like? Nope! The photo, below.
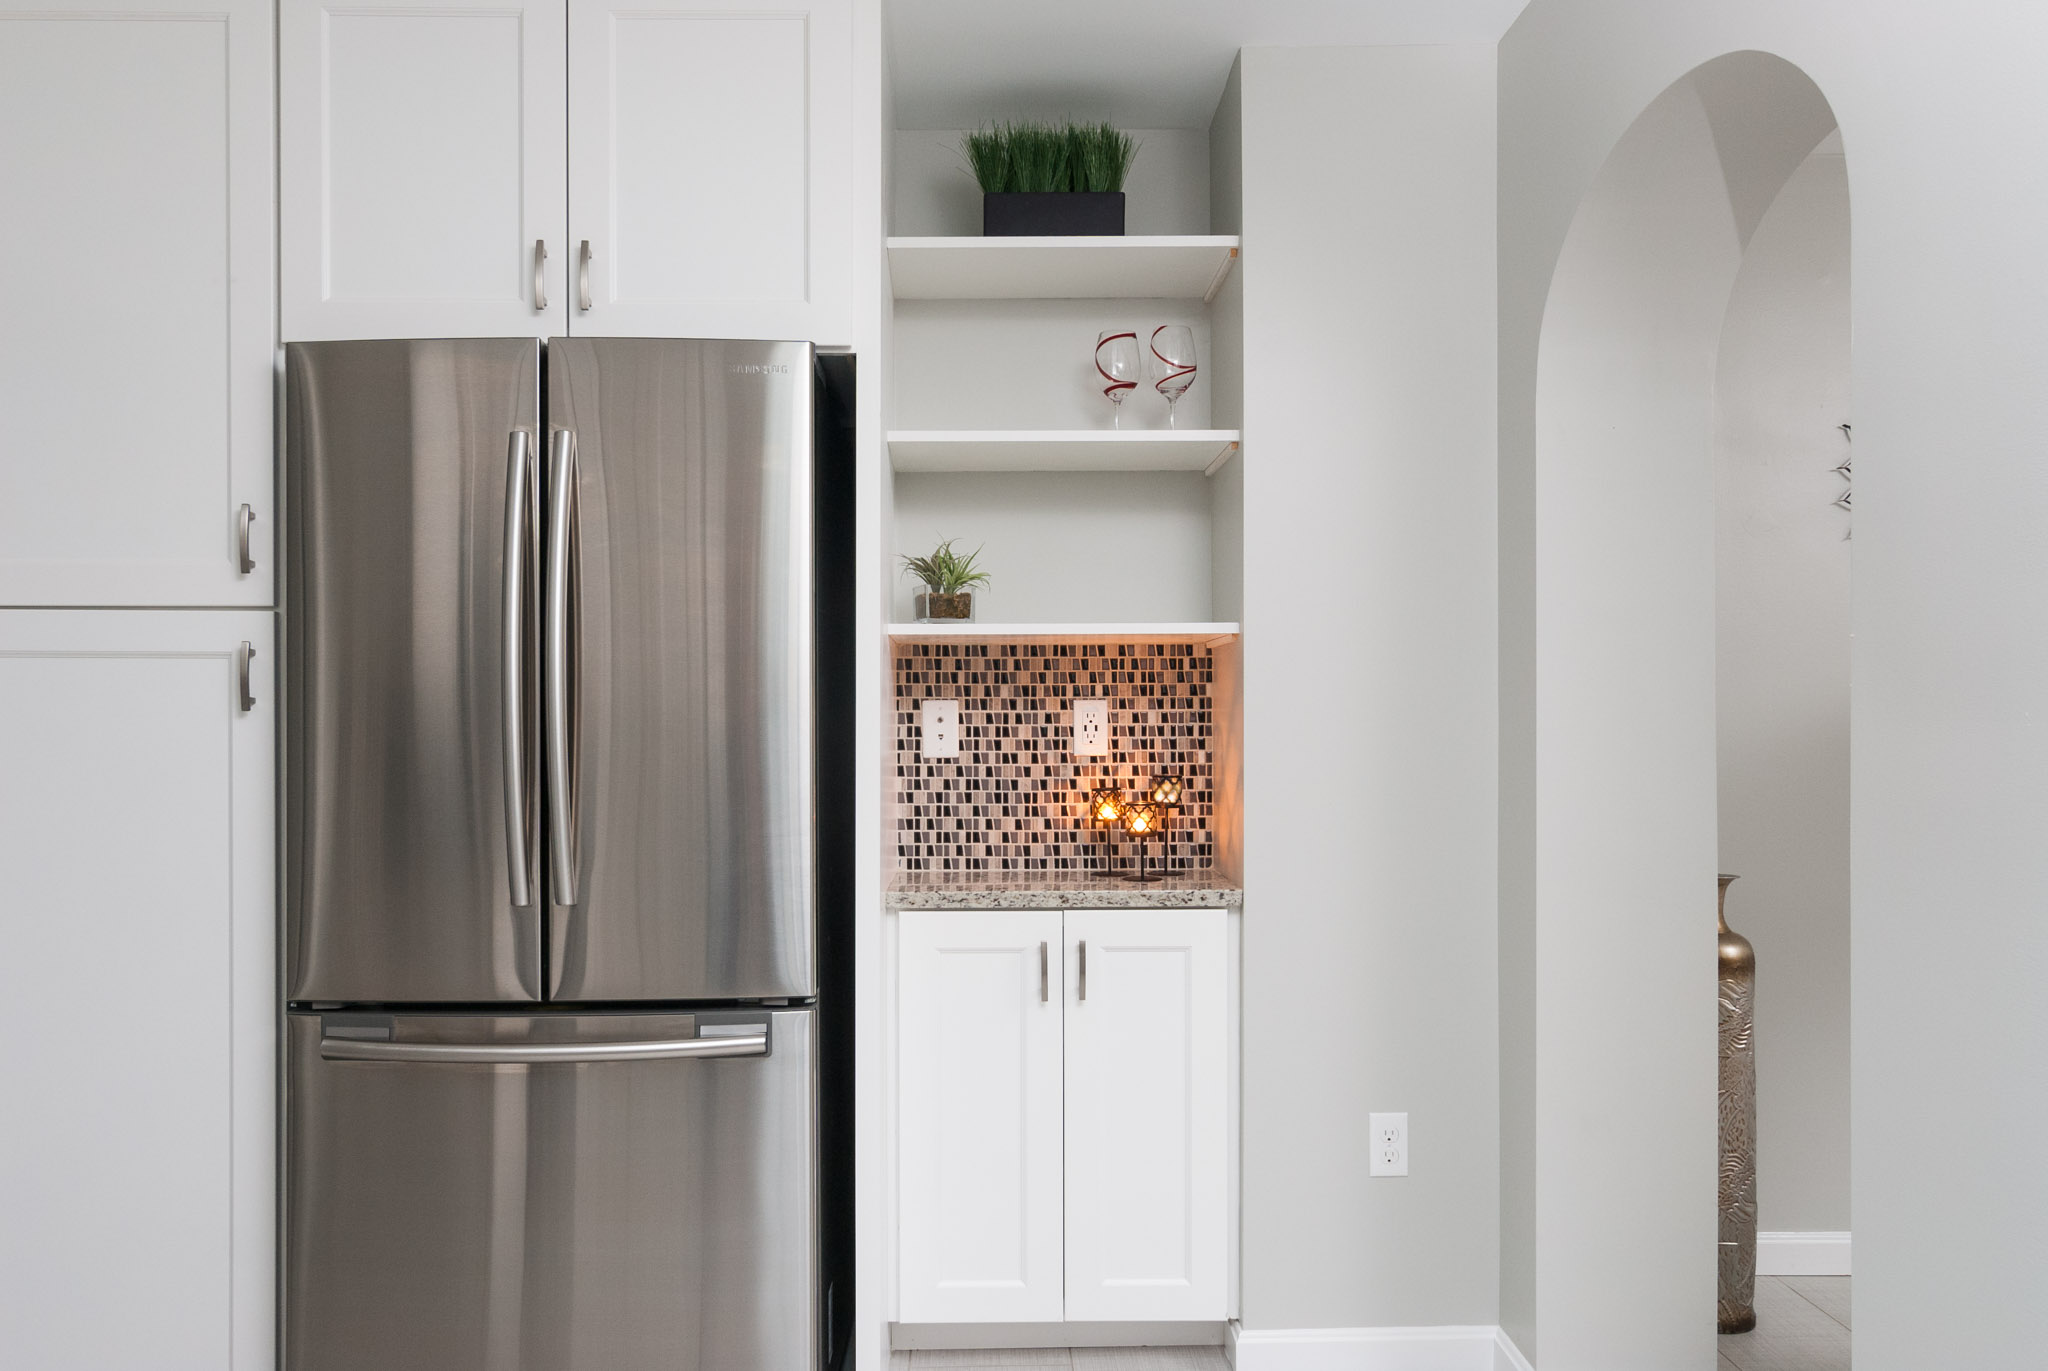
The kind of kitchen detail that I love to grab if I can.
This isn't your typical real estate photo, but as I mentioned in the last blog post, I think detail shots can really help to bring in potential buyers. Couldn't you imagine yourself in this kitchen, candles lit, pouring a glass of wine after a long day? Maybe sneaking a nice cheese out of that fridge?

Ambient light only. The third candle didn't like me, so I had to clone in the glow in Photoshop.
Check out the ambient grab above. I made several test shots with only ambient light to see which exposure would make the candles look best. The rest of the ambient light in the photo is coming from the window that we discussed in the previous kitchen photo. It contributes very little, allowing me to then shape the light with my speedlights. If it had been bright outside, a lot more light would have been coming from that window. That's not necessarily a bad thing, but having a nearly blank slate upon which to create my own light was a nice change of pace.