staging

Hollin Hills Mid-Century Modern Flip by Jonathan Barnes

Nikon D200, Nikon 18-70mm f/3.5-4.5 AF-S DX @ 18mm, ISO 100, f/8, 1/15 sec.

Nikon D200, Nikon 18-70mm f/3.5-4.5 AF-S DX @ 18mm, ISO 100, f/8, 1/15 sec.

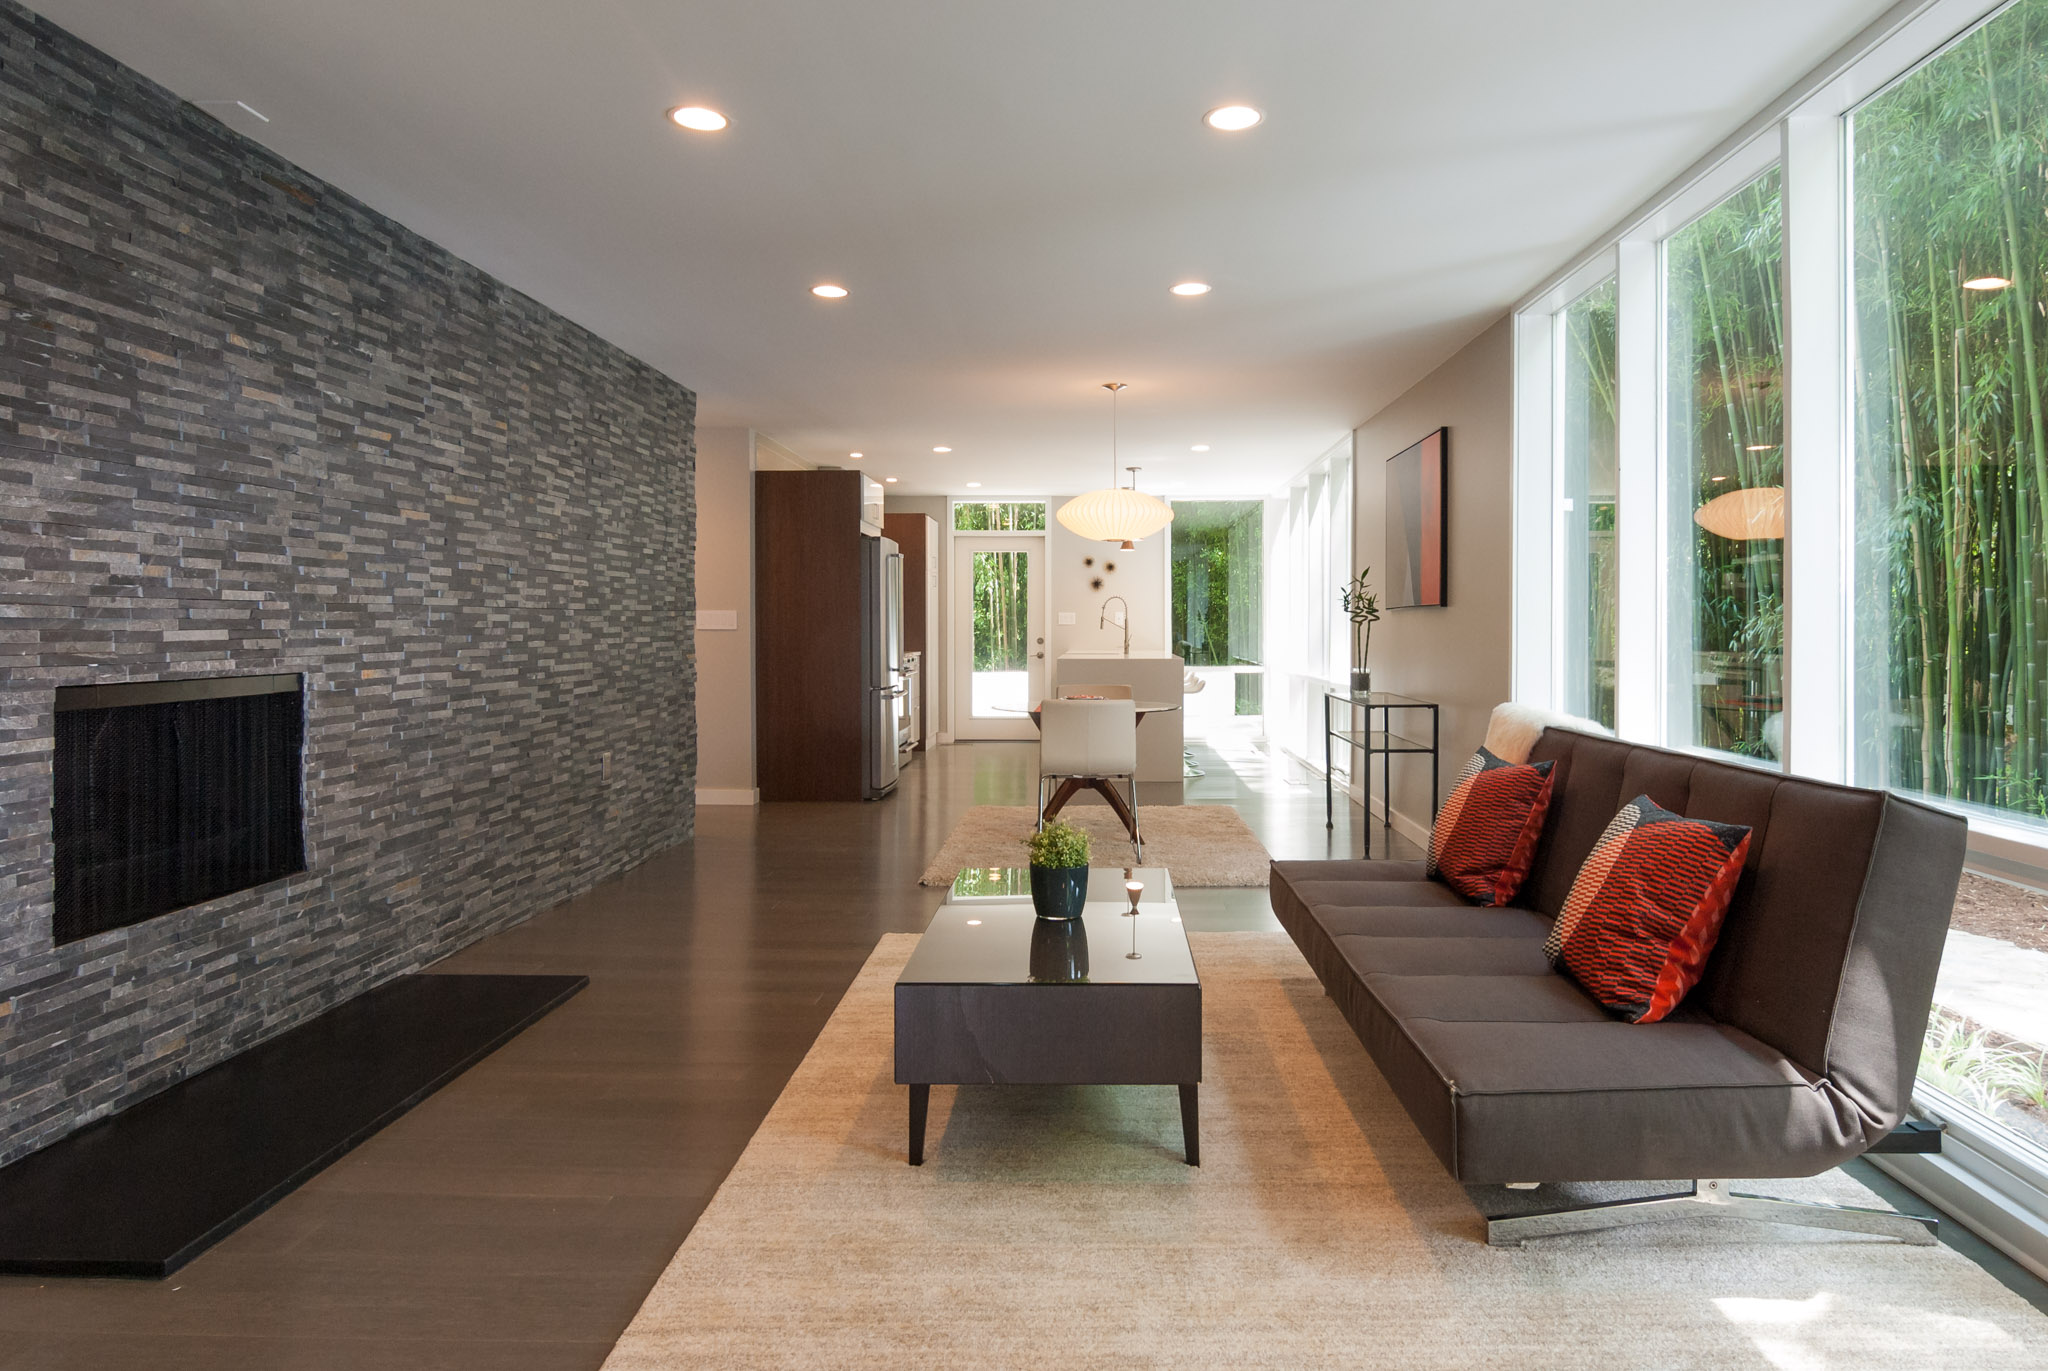
Hollin Hills is a unique little community situated a little south of Old Town Alexandria in Virginia. It was one of the first planned communities to be constructed after World War II. It is comprised entirely of mid-century modern homes designed by Charles Goodman, so when I found out that I would have the opportunity to photograph one of these homes, I was ecstatic.

Nikon D200, Nikon 18-70mm f/3.5-4.5 AF-S DX @ 25mm, ISO 400, f/7.1, 1/30 sec.

Nikon D200, Nikon 18-70mm f/3.5-4.5 AF-S DX @ 25mm, ISO 400, f/7.1, 1/30 sec.

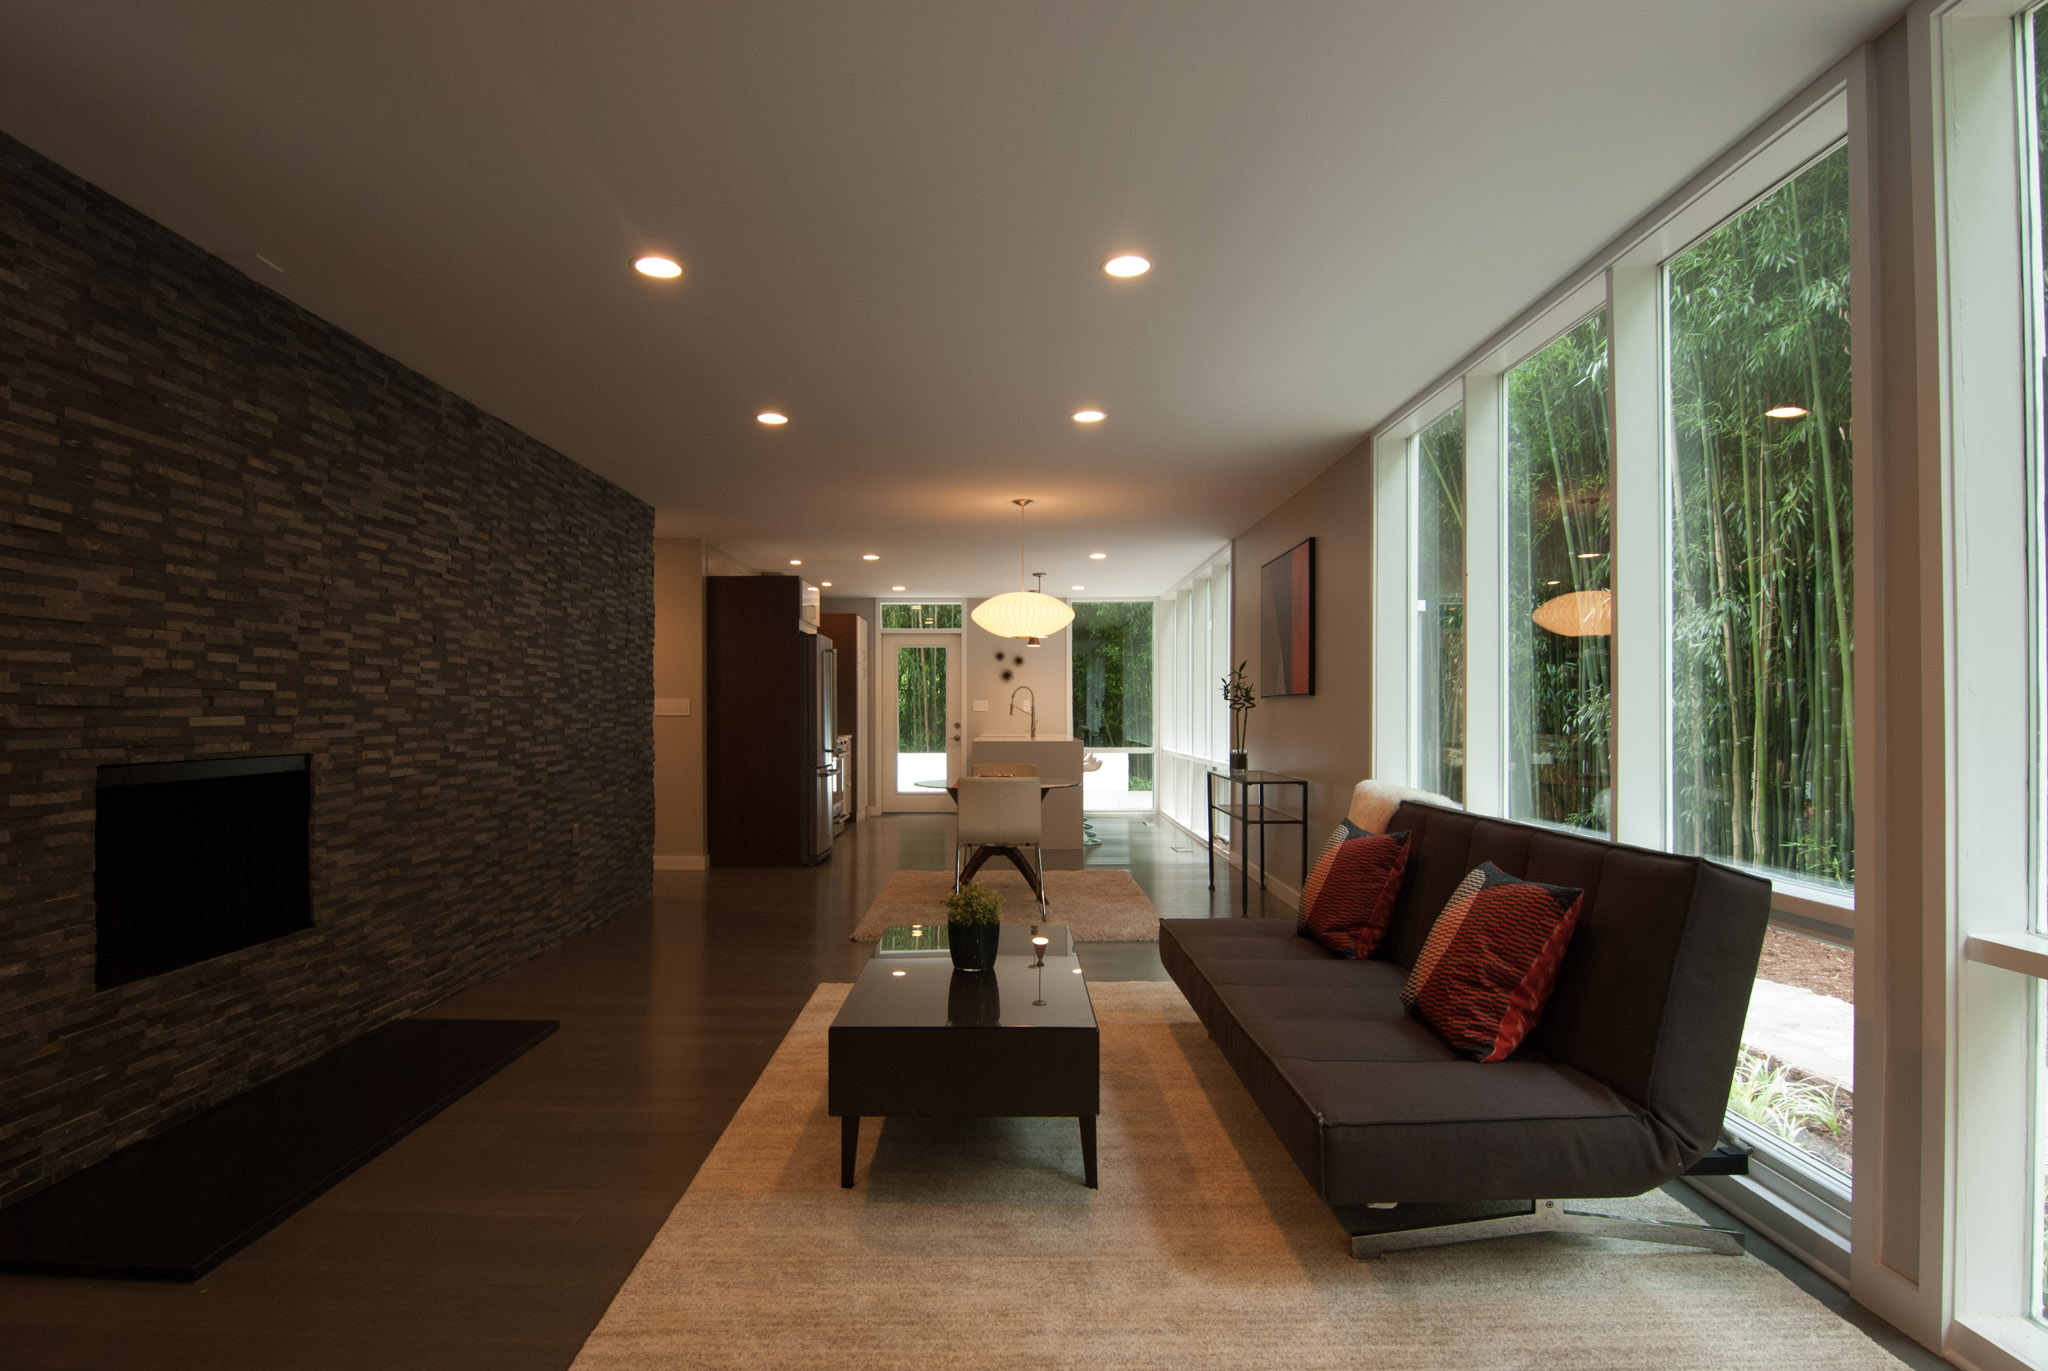
We'll be looking again today at the work of house flipper extraordinaire, Teresa Bosch. The bones of the house are the same as they were half a century ago, but Teresa and her team did a beautiful job of remodeling the home. I won't go as in-depth with the process on this one, but I do want to point out a few things that I had to do in order to create these photos.

Take a look at the two living room photos above. One is the natural light shot, and the other is what it looked like once I added my lights to the scene. I used two large umbrellas outside, coming through the windows near the couch to camera right, which simply augmented the existing natural light. Then I scraped a gridded speedlight with a warming gel across the fireplace to bring out the definition in the fireplace and the stonework.

Nikon D200, Tokina 11-16mm f/2.8 Pro AT-X II @ 13mm, ISO 200, f/8, 1/13 sec.

Nikon D200, Tokina 11-16mm f/2.8 Pro AT-X II @ 13mm, ISO 200, f/8, 1/13 sec.

In addition to the interior shots and the normal exteriors, I also did a twilight exterior shoot. On a house like this, it would really be a crime not to do a twilight shoot. The beauty of these homes is in their floor-to-ceiling windows and the houses just glow beautifully when the sun goes down.

Nikon D200, Nikon 18-70mm f/3.5-4.5 AF-S DX @ 29mm, ISO 100, f/8, 1 sec.

Nikon D200, Nikon 18-70mm f/3.5-4.5 AF-S DX @ 29mm, ISO 100, f/8, 1 sec.

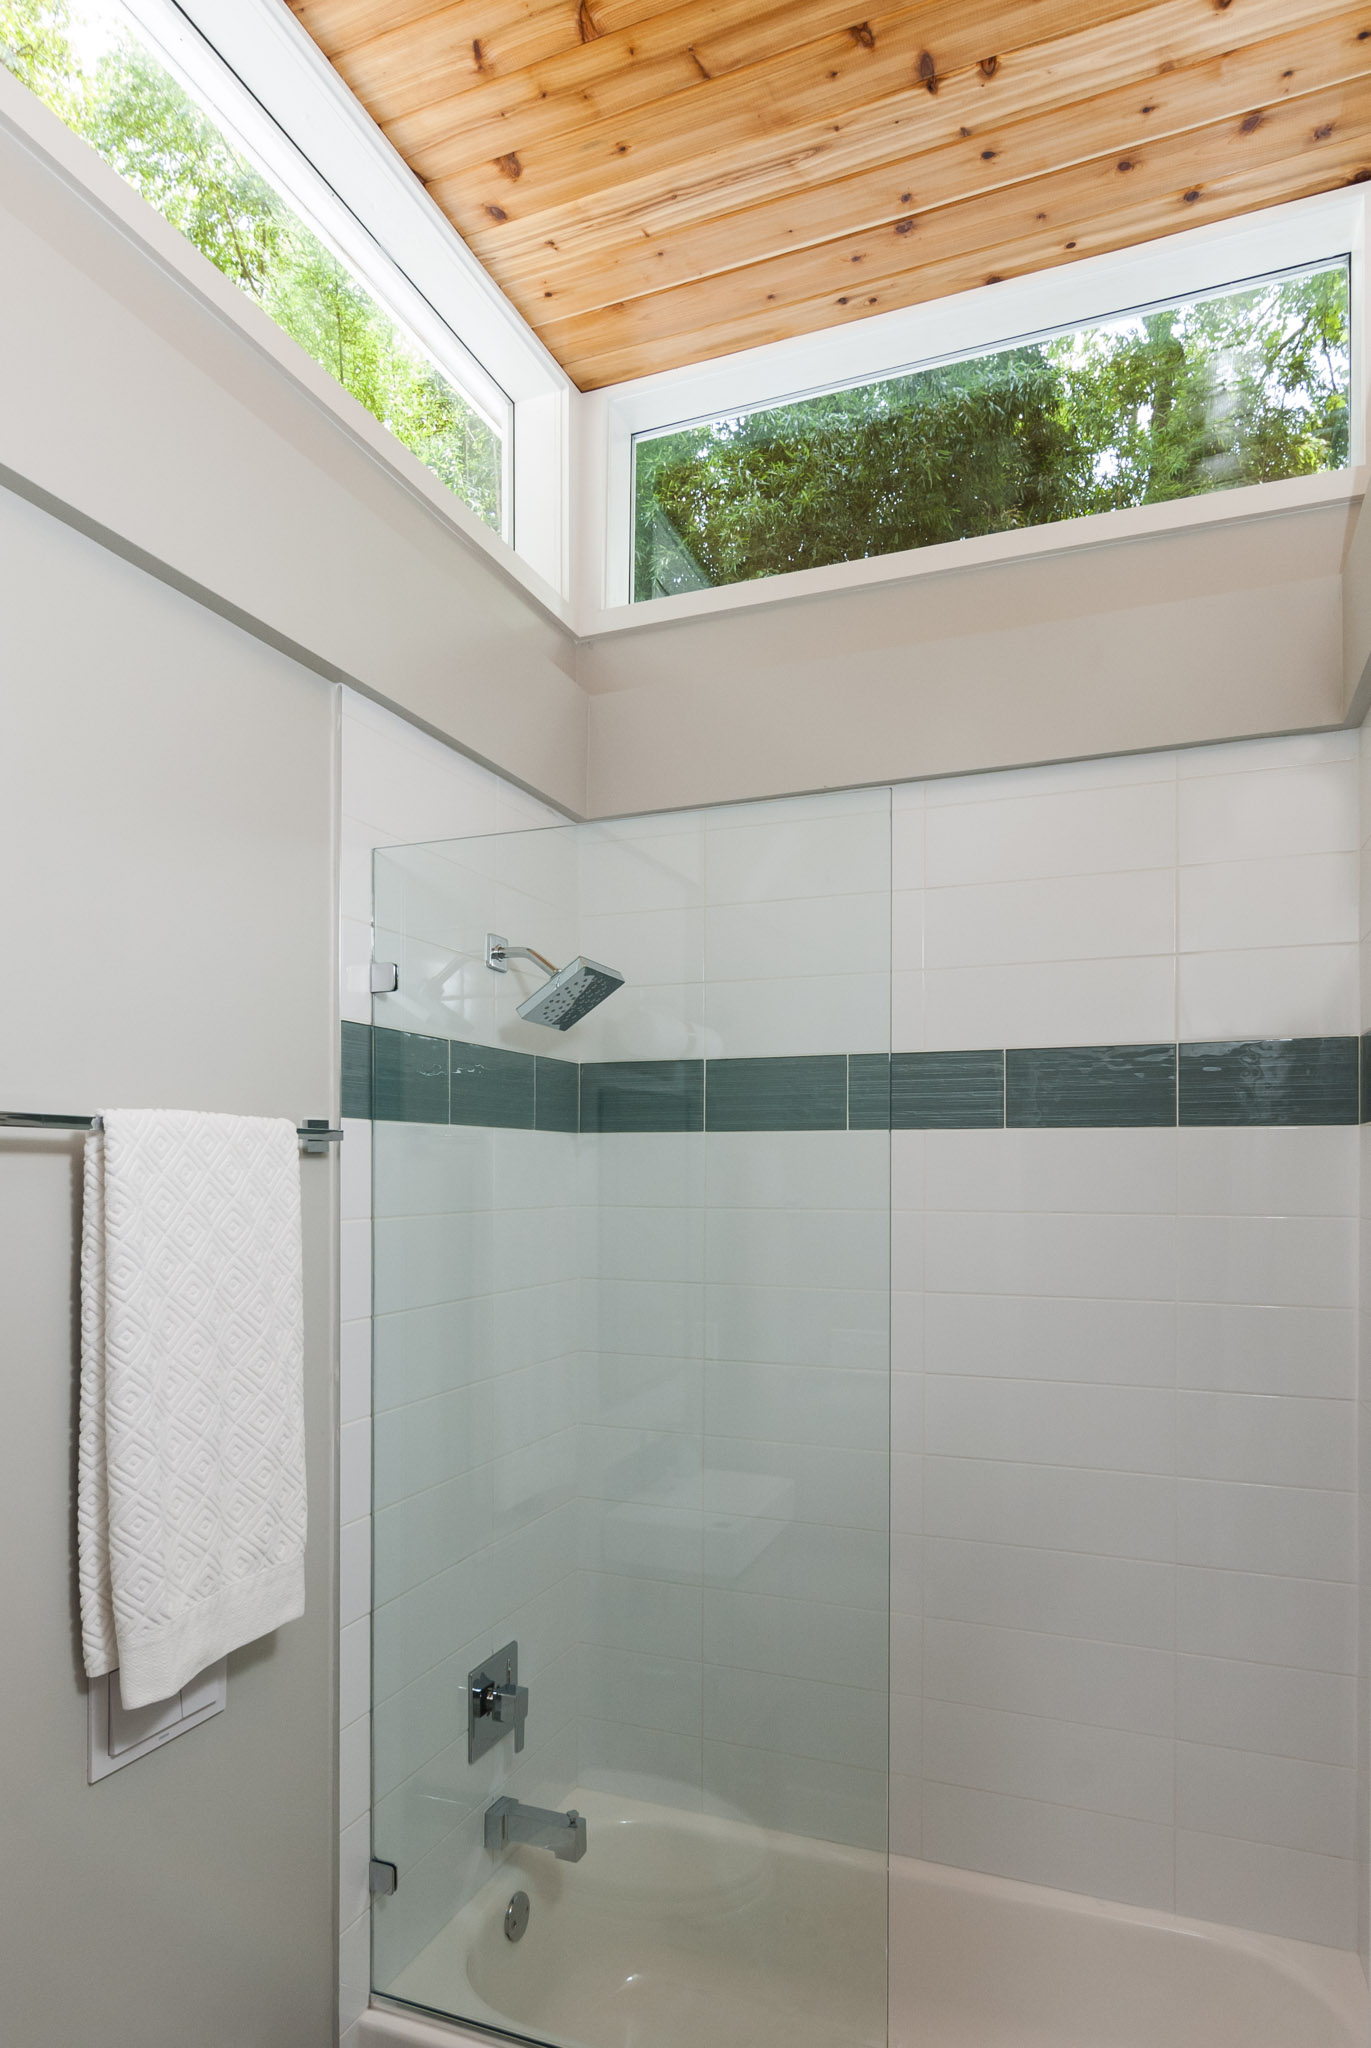
Twilight photos are fairly simple to make, but you have to be ready for the light when it is just right. That means a lot of running around to make sure that all of the interior and exterior lights are on, so that you can be ready during that 10-15 minute window when the natural light comes into balance with the home's light fixtures. The photo above was a crucial shot, because Teresa really wanted to show how the home's tower became illuminated at night. The two windows that you can see at the right (on either side of the chimney) are at the top of the hall bath (see below). Teresa's team put an LED strip up there in order to create a cool vibe at night, and it came through very nicely. The problem was the far left window which is above a hallway. Even with the hall light on, it wasn't bright enough to appear in the photo. In order to get that window to light up (as seen in the photo above), I put a speedlight in the hall with a warming gel. It was triggered via PocketWizard radio remotes (with their impressive 1600 ft. range).

Nikon D200, Tokina 11-16mm f/2.8 Pro AT-X II @ 13mm, ISO 400, f/8, 1/50 sec.

Nikon D200, Tokina 11-16mm f/2.8 Pro AT-X II @ 13mm, ISO 400, f/8, 1/50 sec.

Twilight photos can really transform a house. Check out the daylight exterior shot below from a similar angle. The house looks nice enough, but you're at the mercy of some harsh shadows and the windows look uninviting.

Nikon D200, Nikon 18-70mm f/3.5-4.5 AF-S DX @ 18mm, ISO 100, f/5.6, 1/60 sec.

Nikon D200, Nikon 18-70mm f/3.5-4.5 AF-S DX @ 18mm, ISO 100, f/5.6, 1/60 sec.

I hope you've enjoyed the photos of this house as much as I enjoyed shooting it. Be sure to keep an eye out for more house flips from Teresa in the future. Her work is stunning!

Home Photoshoot for Impact Staging by Jonathan Barnes

Nikon D200, 18-70 mm 3.5-4.5 AF-S DX @ 18 mm, ISO 100, f/7.1, 1/5 sec.

Nikon D200, 18-70 mm 3.5-4.5 AF-S DX @ 18 mm, ISO 100, f/7.1, 1/5 sec.

Lest any of you think that I only shoot photos of my own living room, here's a peek behind the scenes at a recent photoshoot I did for MaryAnn Perkel, owner of Impact Staging & Organization here in Northern Virginia. She does an amazing job, and, for me as photographer, it's a pleasure to be able to focus on the composition and lighting without having to worry about the staging.

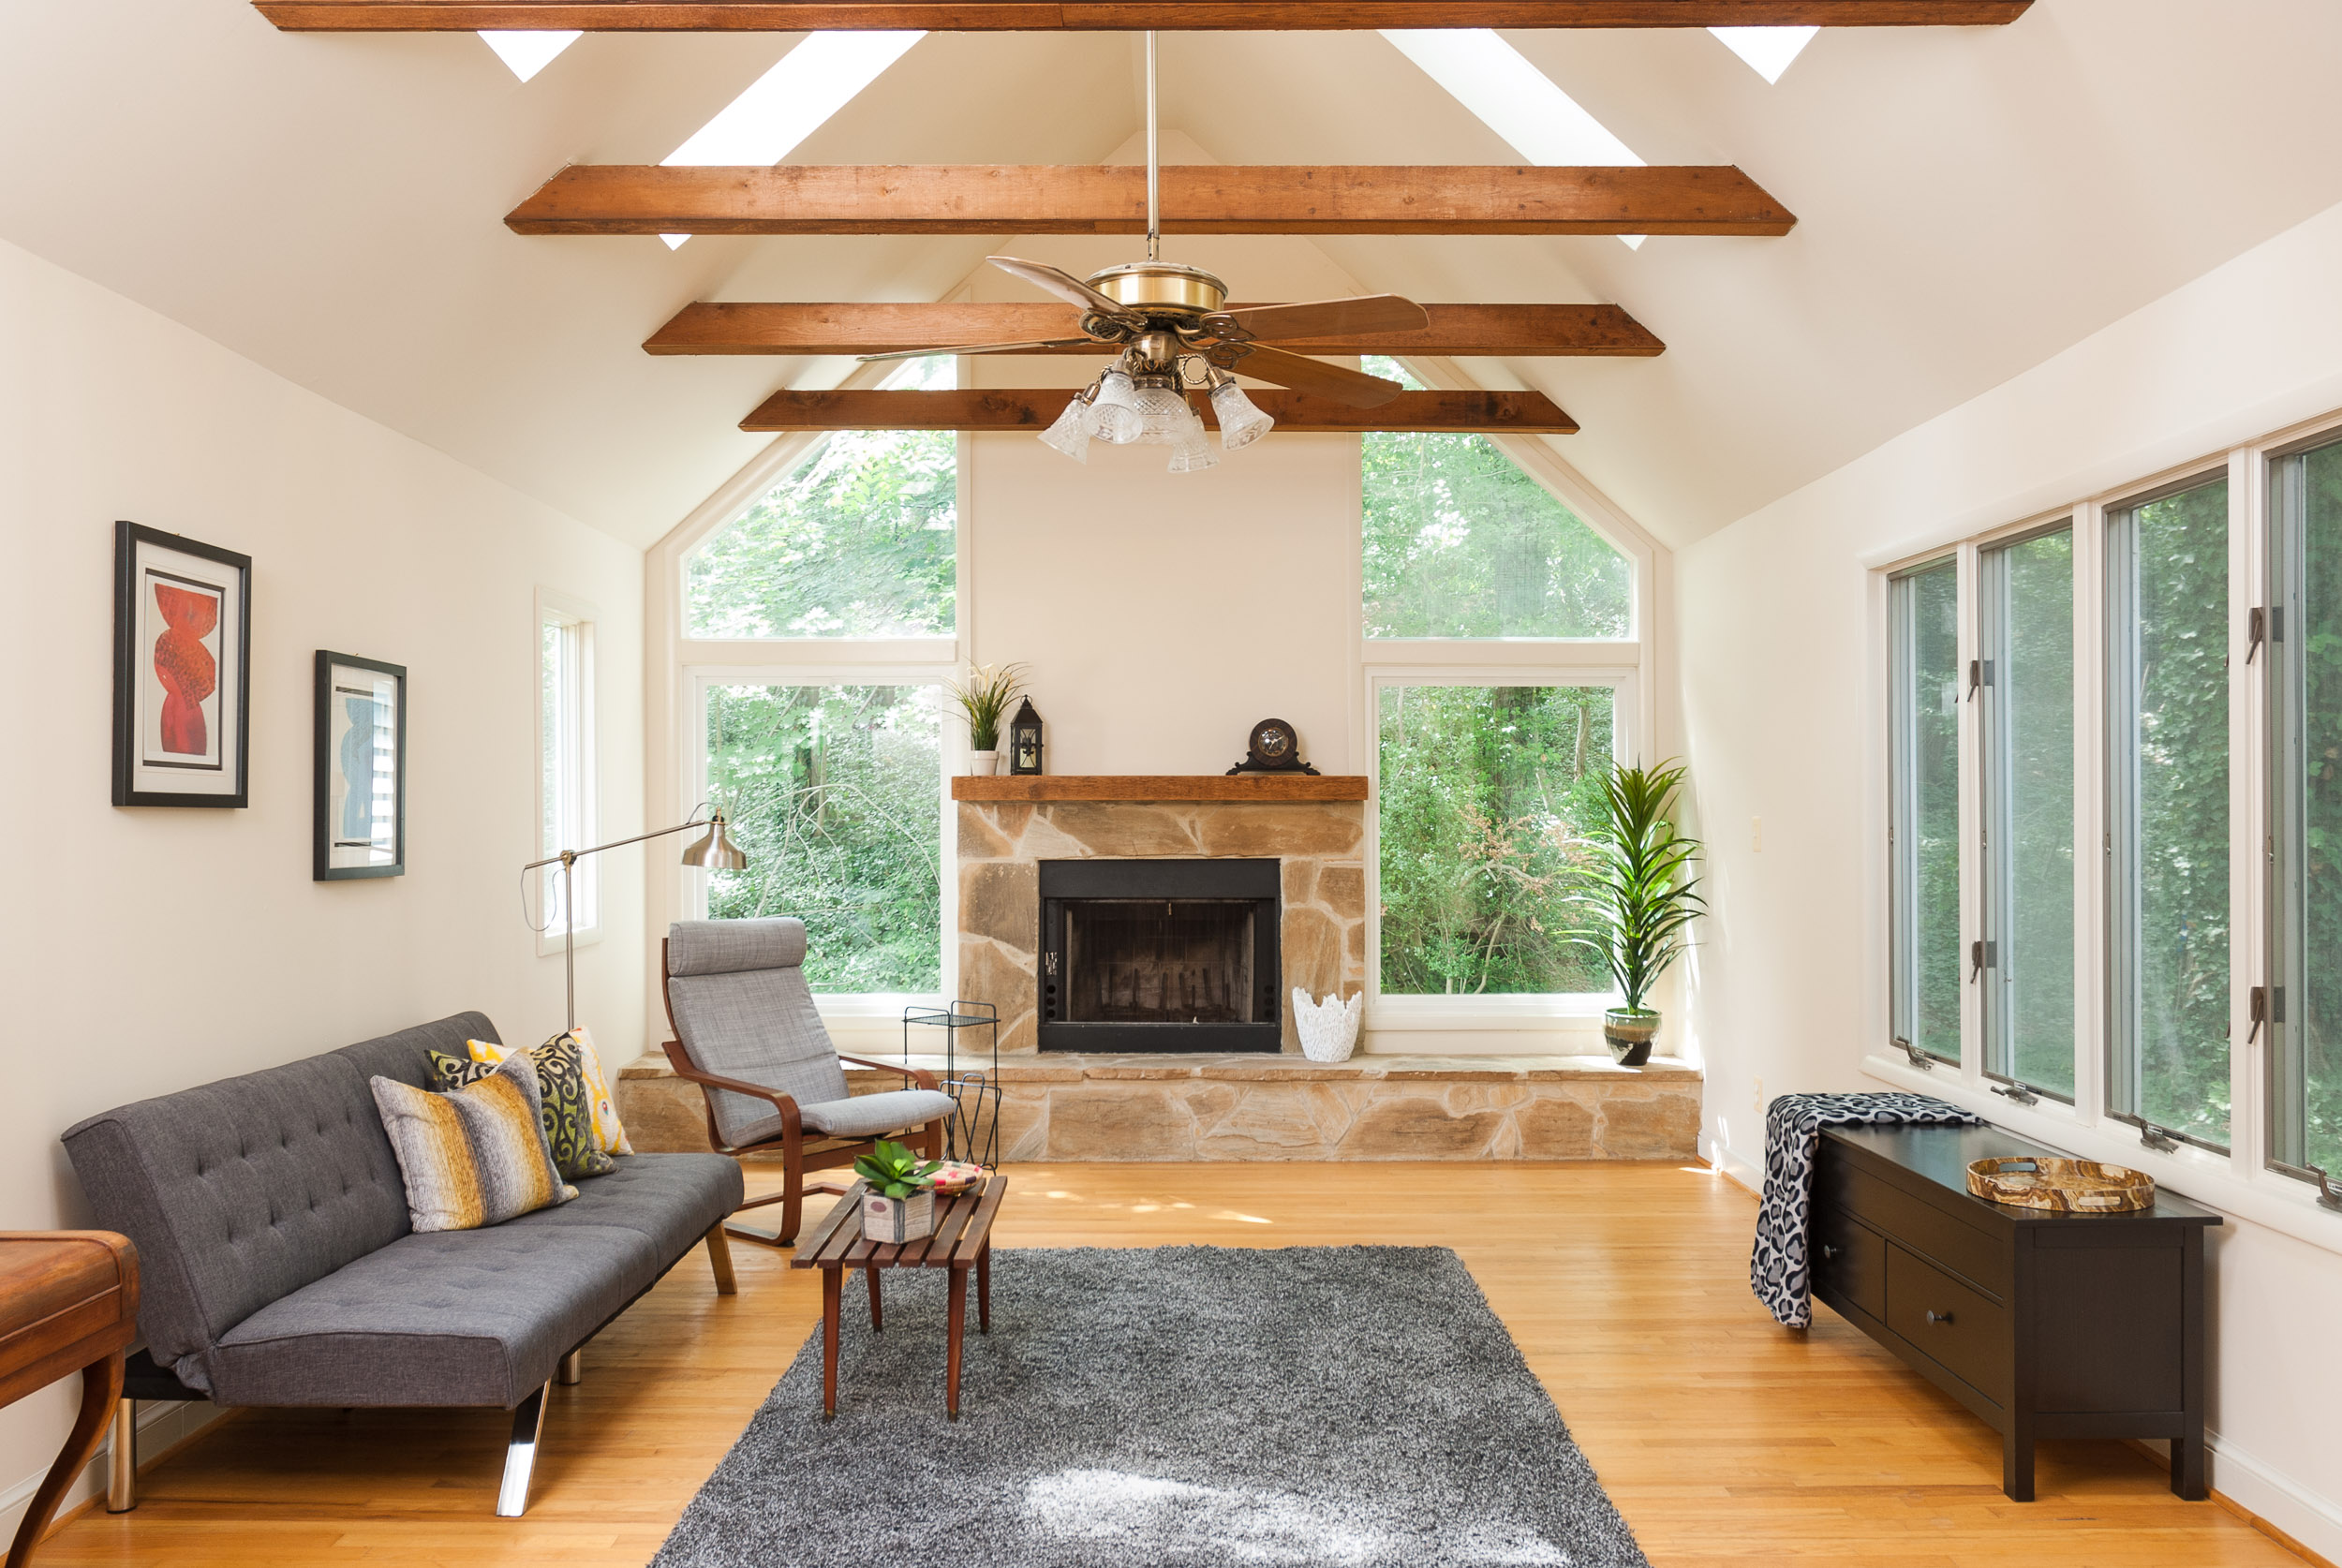
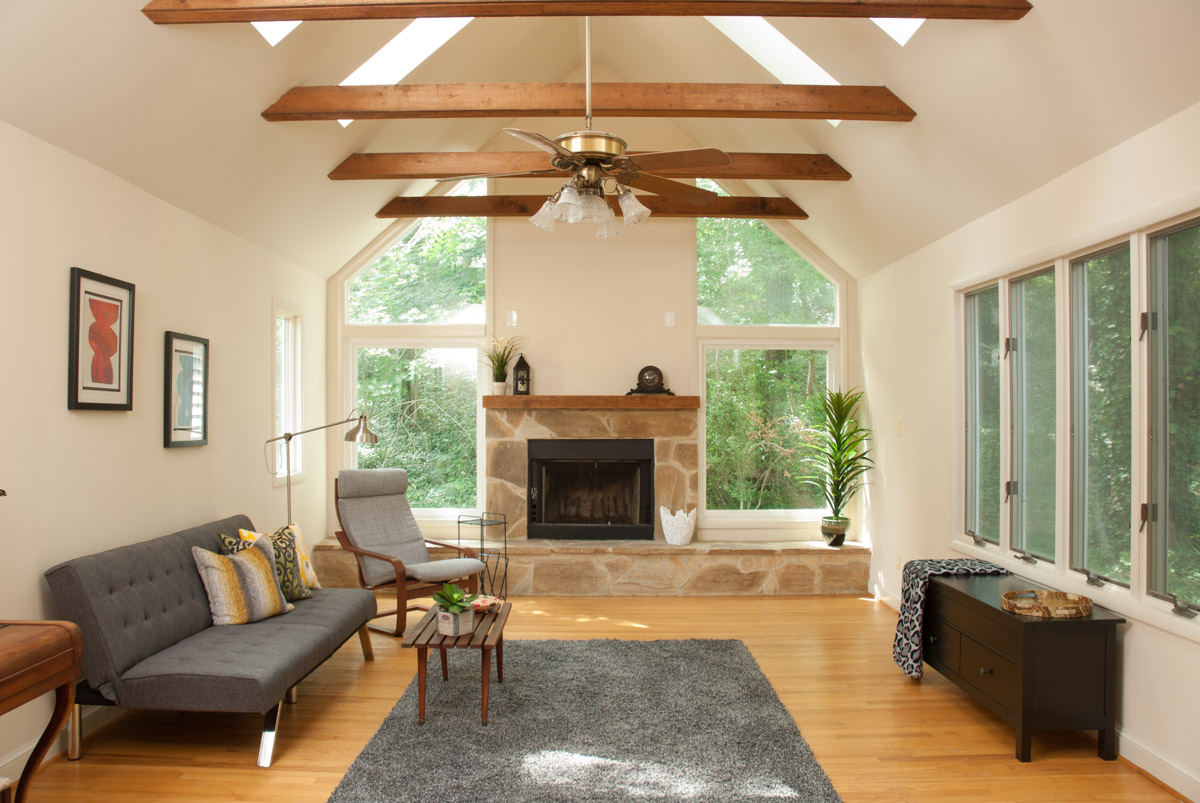
The photo at the top of this post was one of my favorites (exposed beams=awesome) and so I thought I'd do a quick walkthrough of how I created this image.

The first thing I always do (after staging, but, you know, she killed it) is to find my composition. Having already done a walkthrough of the house to determine which shots we'd be making, I already knew that I wanted to shoot this room straight-on. The symmetry of the windows around the fireplace, as well as the exposed wood beams kind of demanded that I compose the shot in this way. Then I'll usually handhold the camera to find a more exact composition. I'll move up and down, side to side, and play with various focal lengths. Next, I lock the camera down on my tripod and use a geared head to level it and fine-tune the composition.

The second thing to do is to find the ambient exposure. This usually comprises the windows and any light fixtures that I want to be illuminated. I had tried shots with both the ceiling fan lights on and off and decided during post-processing that the lights were a bit too distracting with all of the beautiful natural light coming through the windows. It's good to shoot both ways so that you have the options to choose from later.

My window exposure ended up being 1/5 sec at ISO 100 & f/7.1. Why ISO 100? Sigh. I don't know. I usually shoot closer to 400 so that my speedlights can hang in there, but I was thinking about trying to get the cleanest file possible since this was not a real estate shoot. I don't know if MaryAnn will ever want large prints of these, but in case she does, she'll have really clean files to use.

The ambient exposure, before adding flash.

The ambient exposure, before adding flash.

The photo above shows the ambient exposure, and you can see my light stands on the left. They were there from a previous shot where this room was in the background, so they were hidden from view. It was as easy as repositioning them just a bit closer to the camera so that they fell out of view of the left side of the frame. There are two speedlights there, as well as a third resting on a piece of furniture near the other two. They're all aimed at a similar spot near the wall/ceiling joint in order to provide me with more power. Remember, I'm shooting at ISO 100 and these little speedlights don't have the power on their own to fill a huge room like this.

That being said, the ambient window exposure is providing me with a good amount of fill light in the room on which to add some flash. If it was pitch black in there after finding my window exposure, I would have been worried. As it was, I had a pretty good starting point, but adding the flash does two things. The most obvious is to bring up the exposure level of the room so that it appears bright and cheery, while the more subtle effect is that it adds depth and shape.

The exposure after flash has been added, with no retouching.

The exposure after flash has been added, with no retouching.

So the photo above shows the final shot, straight out of camera with zero adjustments. If you look in windows on either side of the fireplace, you will see the reflections from my flashes. They show up as large white blotches, most noticeable on the left-hand window. The reason they are not small reflections is because I am bouncing the speedlights off of the wall/ceiling, thereby increasing the size of the light source. It's great for creating soft light, but not so great when you have a lot of windows. Luckily, I had anticipated this and knew that I could easily clone those reflections out during post. If there had been something more complex outside, it would have been a harder task, but the trees all just meld together beautifully.

Because the photo was not going to be used for real estate, I had no problem cloning out the two outlet plates just above the fireplace. That's a big no-no for a real estate shot. Other post-processing included lens corrections, white balance, slight shadow-lifting, a touch of clarity, a slight S-curve to boost midrange contrast, and a tiny bit of sharpening. I apply a light touch with most of the post-processing. If you think you went a little too far, you went too far. Pull it back! Click the gallery below to see the photo before & after post-processing.

Another thing I like to do when shooting for a home stager or interior designer is to grab a closer shot, or detail. It's easy to do once you've got the lighting and exposure down, as long as the lights aren't in your new shot.

Grab a closer shot with the same light setup as the wide shot.

Grab a closer shot with the same light setup as the wide shot.

For the above shot, I moved the lights a little from where they were in the previous wider photo. Check out the setup shot below:

The setup shot. Speedlights are two LumoPro LP180s and a Nikon SB-26.

The setup shot. Speedlights are two LumoPro LP180s and a Nikon SB-26.

For the wide shot, the lights had been aimed at the wall-ceiling junction near the top left of that window above the piano. In order to trigger the lights, notice the radio receivers on top of the camera and attached to the lefthand light. The other two lights are trigged via their built-in optical slaves. That's quite the handy feature when using multiple lights on jobs like these!

I hope you've enjoyed this peek behind the scenes, and feel free to ask any questions in the comments.

Quick & Easy Staging by Jonathan Barnes

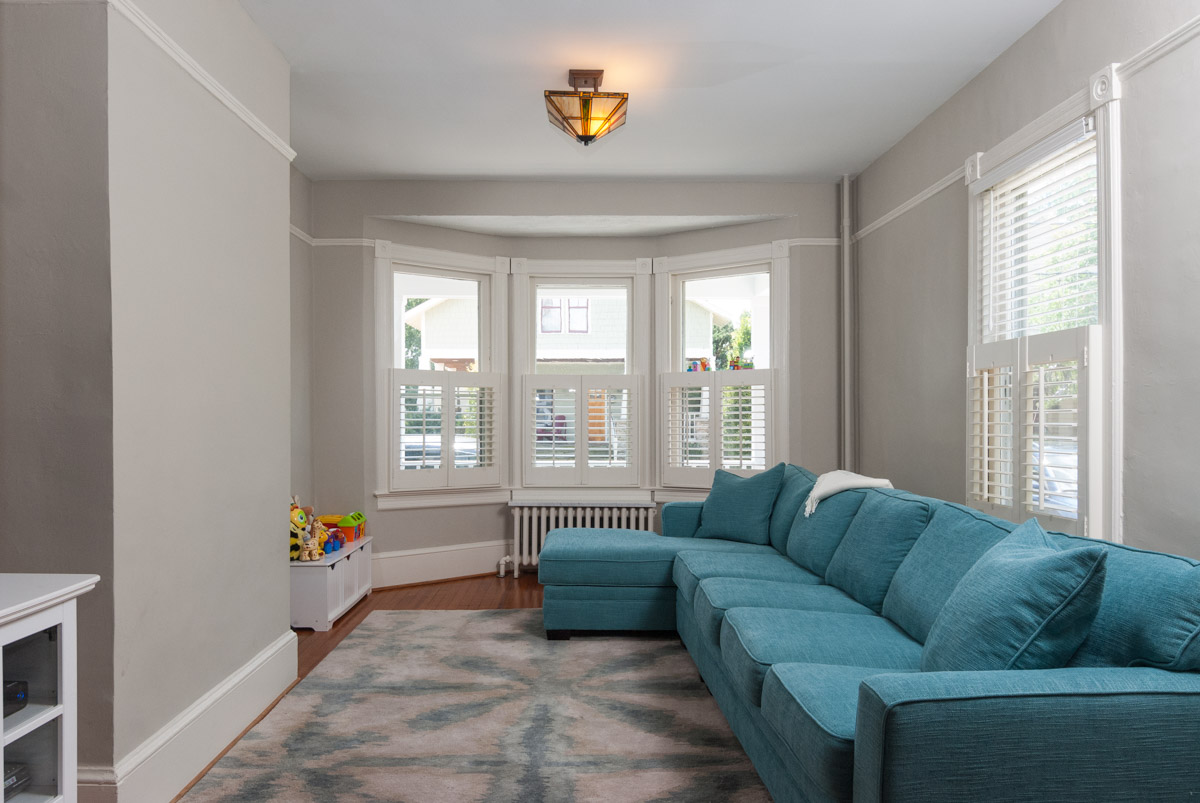
An unstaged living room. Try not to trip on any toys.

An unstaged living room. Try not to trip on any toys.

The Food Network's Iron Chef may have "Kitchen Stadium", but here at Jon Barnes Photo we have "Living Room Laboratory." It's actually not as exciting as it sounds, but hey, I tried. Sorta.

Anyway, for our first interior photography experiment let's try some easy staging. Goodness knows what sort of mess you might find when going into someone's home to take real estate photographs. I've been pretty lucky so far, but almost every home you photograph is going to need some help (unless you are fortunate enough to be shooting a professionally staged home).

Enter my living room. It's actually not in horrible shape, but it does need a bit of attention. There are the obvious things, like the toys on the floor, the couch throws, and the droopy pillows.

But then there are the subtler things: The louvers of the plantation shutters are in various disarray, and the ceiling fixture is crooked (right now my wife is wondering why it took a blog post for me to get around to fixing that).

A little cleanup goes a long way.

A little cleanup goes a long way.

It takes 2 or 3 minutes to straighten up small things like these, but it makes a big difference in the final photo. Now, we're not taking the room to a level worthy of a professional home stager or interior designer; however, we don't want to spend a long time on it. Remember, on a real estate shoot, we have a whole house to photograph in a short amount of time!

Usually, real estate agents will let the homeowner know to clean things up, and that certainly makes things easy. Regardless, it's not a bad idea to check with them beforehand, but there's bound to be a little work you'll have to do on your own. Take a few minutes and make it right.